This was a one week sprint project in December of ‘22. CAD files are available here if you also happen to have a Sony a6000 and Super Takumar 50mm
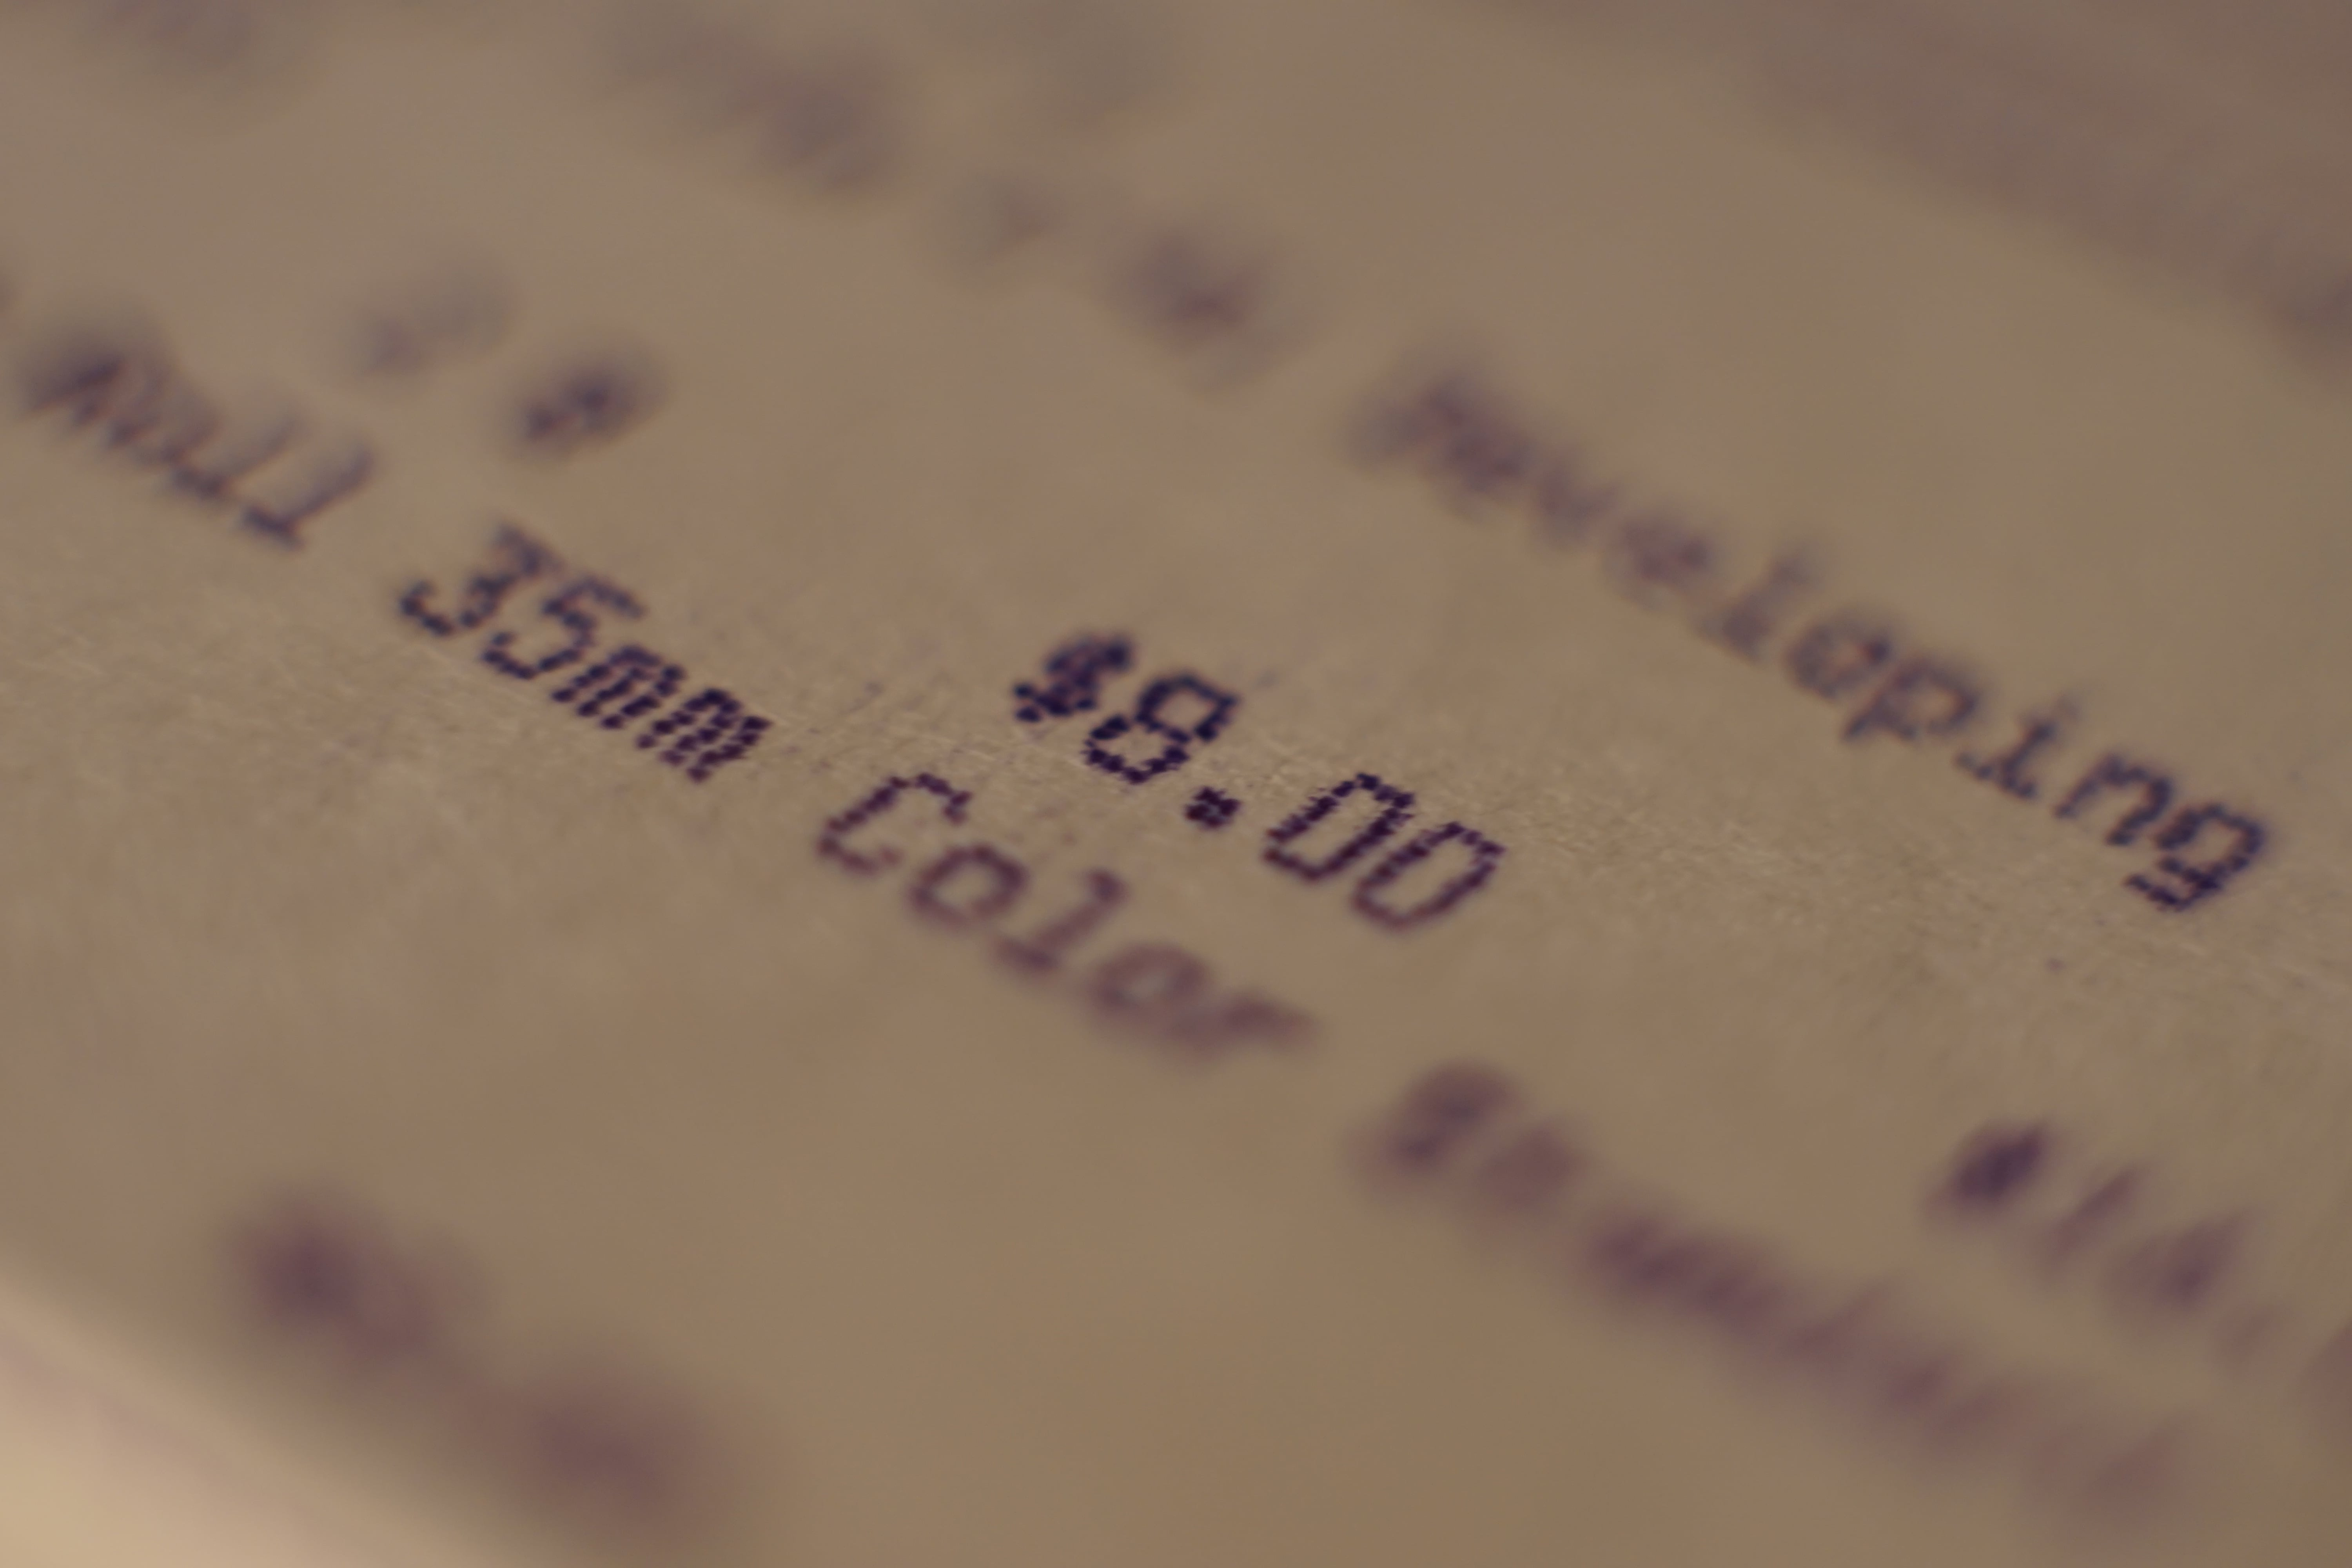
I have been getting my film rolls developed and scanned at a local camera store, for $16 total; $8 for developing C41, and $8 for scanning to a USB drive. On Sunday, Amazon recommended me a 60mm 7artisans 1:1 magnification macro lens for Sony E mount. Immediately the thought that popped into my head was film scanning. The 7artisans lens was $190, which was pretty cheap for an E mount but not quite justifiable for something I would pretty much only use for film scanning, so I did more research into macro photography. I discovered macro extensions and bellows attachments to get a shorter minimum focus distance and therefore greater magnification on a normal lens. I had a couple manual M42 lenses that I could try: a Super Takumar 135mm f3.5, and a Super Takumar 50mm f1.4. I used this calculator to calculate the required extension length for 1:1.54 or so magnification to scan a 35mm frame with a Sony APSC sensor. The 135mm has no tint, which is ideal, but would require a ludicrously long 100mm extension in order to get the required magnification ratio. The Super Takumar only needed 24.5mm of extension to reach that magnification. So I chose the fast fifty.
An aside about how you should do this
DSLR scanning is already the janker method of scanning in film, but using extensions on a normal lens is even more jank. Dedicated macro lenses are the best for this purpose, followed by enlarging lenses, followed by normal lenses with extensions.
Why? Normal lenses are not designed to be mounted to extensions, so by adding extensions you make the effective aperture smaller, amplify any imperfections like aberrations, and introduce potential for color imperfections. Enlarging lenses are slightly better, because they were designed to be used to blow up 35mm film onto prints, so they have little to no aberrations, sharp optics, and near perfect rectilinear projection (few distortions). However, using them in this context is still not ideal, as they are mostly intended for 8:1 to 12:1 magnification, not the near 1:1 that DSLR scanning calls for. Still, a Nikkor 50mm f2.8 enlarger goes for about $50, so they are pretty cheap and should get the job done better than normal extended lenses.
Monday
Monday came around, and I stopped by the Robotics lab to 3D print a 24.5mm extension and pick it up in 7th period. The first layer got messed up, so I couldn’t screw it all the way onto the M42 mount, but it did work as a macro extension, and I did take a couple photos with it with my Sony and my Pentax.

I also tried a couple film scans using my desk lamp as a backlight. I used darktable’s built in negadoctor function, which handles much of the color inversion process on its own, including subtracting the color of the film base, and dealing with dynamic range.


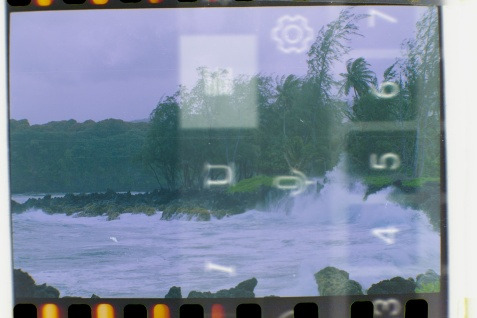
The lamp was nearly the perfect size for 35mm film, but had major dimming near the edges, which is why all the scans ended up brighter along the top and bottom (following color inversion). The concept had been proven, but it was clear I would need a better light source and a setup that kept the film in plane with the sensor for focusing. I got to work on designing a hood to keep outside light out and keep the film in plane.
Tuesday
On Tuesday, I finished up my design and 3D printed it again in the Robotics lab. I also printed another macro extension, this time with good threads and a thicker outer diameter to make it look better. I brought some expired negatives I didn’t care about damaging, and stayed after school working on my design at a CubeSat meeting, laser cutting a bottom plate and messing around with macro photography at 50mm. The design used three laser cut plywood bottom sheets layered on top of each other, and a 3D printed mount for the camera (via a peakdesign plate) and the hood (via two M5 bolts). I made sure to make the M5 mounting holes slots so that I could adjust the film forward or back to be in focus. I had measured the focusing distance to 21cm or so (as listed by that online lens magnification calculator) but there was a decent chance it would be off, especially considering the millimeter-level depth of field that the macro extensions yielded.

 The scans from this were better focused, but the lighting issues persisted because of the poor backlight. It was at this point that I decided to order an LED panel with claimed >95 Color Rendering Index (CRI).
Wednesday
On Wednesday, I brought in my negatives again, and attempted some more scanning and editing. My friend Aarush suggested that I use my phone as a backlight, as phone displays tend to have pretty good color rendering.
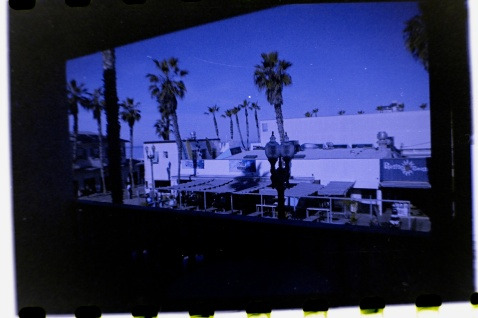
 At this point, I started getting concerned about color rendering. The scans were turning out pretty blue, and part of this is a natural part of film scanning, but my Takumar lens was also contributing to it. The 50mm Takumar is a radioactive lens with a goldish tint, which translates to a blue hue after the colors are inverted. I spent a long time playing around in darktable, and seeing if I could set camera white balance to reverse the Tak tint.
Thursday
Thursday was much the same as Wedesnday, except this time I 3D printed a film holder instead of sliding film between two pieces of 3M VHB tape so that I wouldn’t have to take the hood cap piece off whenever I wanted to load film. I continued to try to reverse Tak tint on expired negatives, not wanting to risk damaging my non expired Ektar negatives until I had a good method down. I also played around with using bluer backlights. It was beginning to dawn on me that negadoctor removes most variations in white balance and tint by allowing you to sample a section of the image as the film stock color, so the Tak tint shouldn’t matter.

Friday
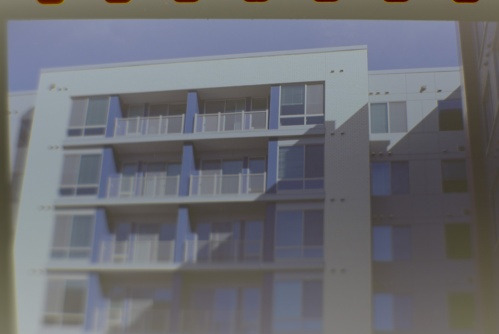
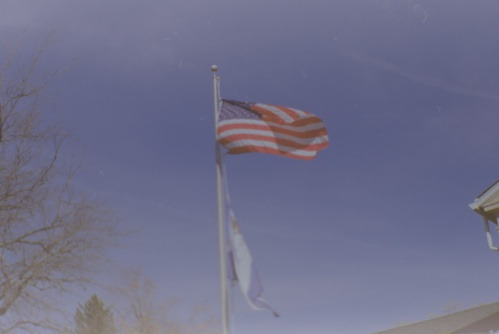
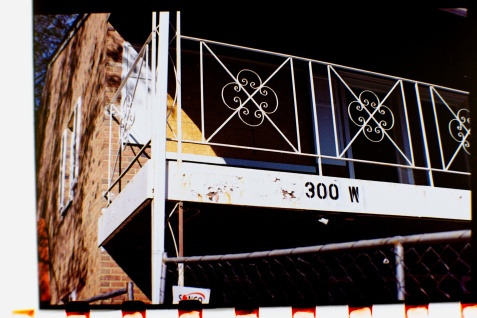
On Friday, I received my 95 CRI backlight and mounted it to the setup with a 3D printed attachment that I glued to the plywood. The images were about the same as with my phone backlight, but the new backlight has the option for higher brightness and more temperature adjustment. I finally gave up on expired negatives and decided to take out my Ektars, and these were FAR easier to work with. I found that applying negadoctor settings and then adjusting white balance until colors matched worked well. I also took a scan with my Sony 16-50 kit lens, which was heavily cropped because I didn’t have macro extensions for E mount, just to test whether the Tak tint was actually causing color issues. I applied the same negadoctor and white balance processes, and the image came out almost identical, so the Tak is fine.


Saturday
On Saturday, I found two helpful videos by Alex Burke on basic color inversion for film scans in Photoshop, and more advanced techniques when basic color references aren’t present. I got a 7 day trial of Adobe Creative Cloud just to try this out, and the results were pretty similar. But I was impressed by how easy Photoshop made the manual process, compared to darktable’s relatively clunky UI. I was working to try to match the colors in the scans I got from the store, but I couldn’t quite match the filmy quality, because I didn’t realize that the as shot white balance was clipping the blue channel after inversion.

V2 Addendum
I designed a second version with prints that mount to a 300mm length of 2020 extrusion, mostly to keep the whole thing more rigid than plywood. I also designed a better mount that allows the peakdesign plate mount to be adjusted with four M3 screws.
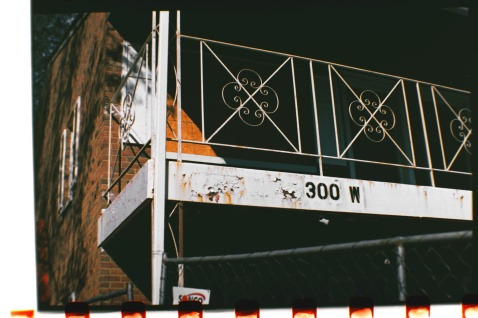
 I also later realized that setting the white balance to auto was necessary, because the blue rgb channel was getting clipped after inversion with “as shot”, which was sony’s daylight preset for consistency. I got much better scans after this.
The Final Procedure
- Set backlight to 5600K and 100% brightness
- Set camera to base ISO, and aperture F8 or above
- Insert film into holder, slide into hood. Wear gloves to avoid leaving fingerprints on the film
- Using a representative frame, set focus (in my case between 0.55m and 0.6m on the lens)
- Set shutter speed so that you expose to the right to maximize range (histogram should be just to the right of center, but not too far right so as to not clip highlights)
- Take photos of each frame using the same exposure settings for ease of correction The videos linked above go into quite a bit of detail on editing with Photoshop, but here is an abridged version:- Load the RAW file into Photoshop. Make sure to use auto white balance instead of as shot, or set it to a constant lowish temperature with no tint (I use 2850K 0 Tint)
- Add a curve layer, perform a simple invert by dragging the left up and the right down
- Sample the color of the non exposed film stock using the eyedropper, create a new filled layer, subtract with less than about 80% opacity to maintain shadows (sometimes as low is 50% is needed for poorly exposed shots)
- Add another curve layer, and in each individual color channel drag to the left until you are just about to clip the highlights
- Correct colors by creating a point on each spline and dragging up or down. Blue needs to be dragged down the most, then green a little bit, and red can be dragged up a bit if needed. Use known objects as color references
- Add a hue/saturation layer, and adjust individual color hue/saturation/brightness until colors like the sky are correct. Don’t overdo it, because it will be noticeable past a point
I’m still working on my Photoshopping skills, but it gives a lot more control than darktable and has a nicer interface.
Shoutout
Thanks to Aarush Sivanesan for helping debug, giving me tips on lighting, and providing feedback on my scans