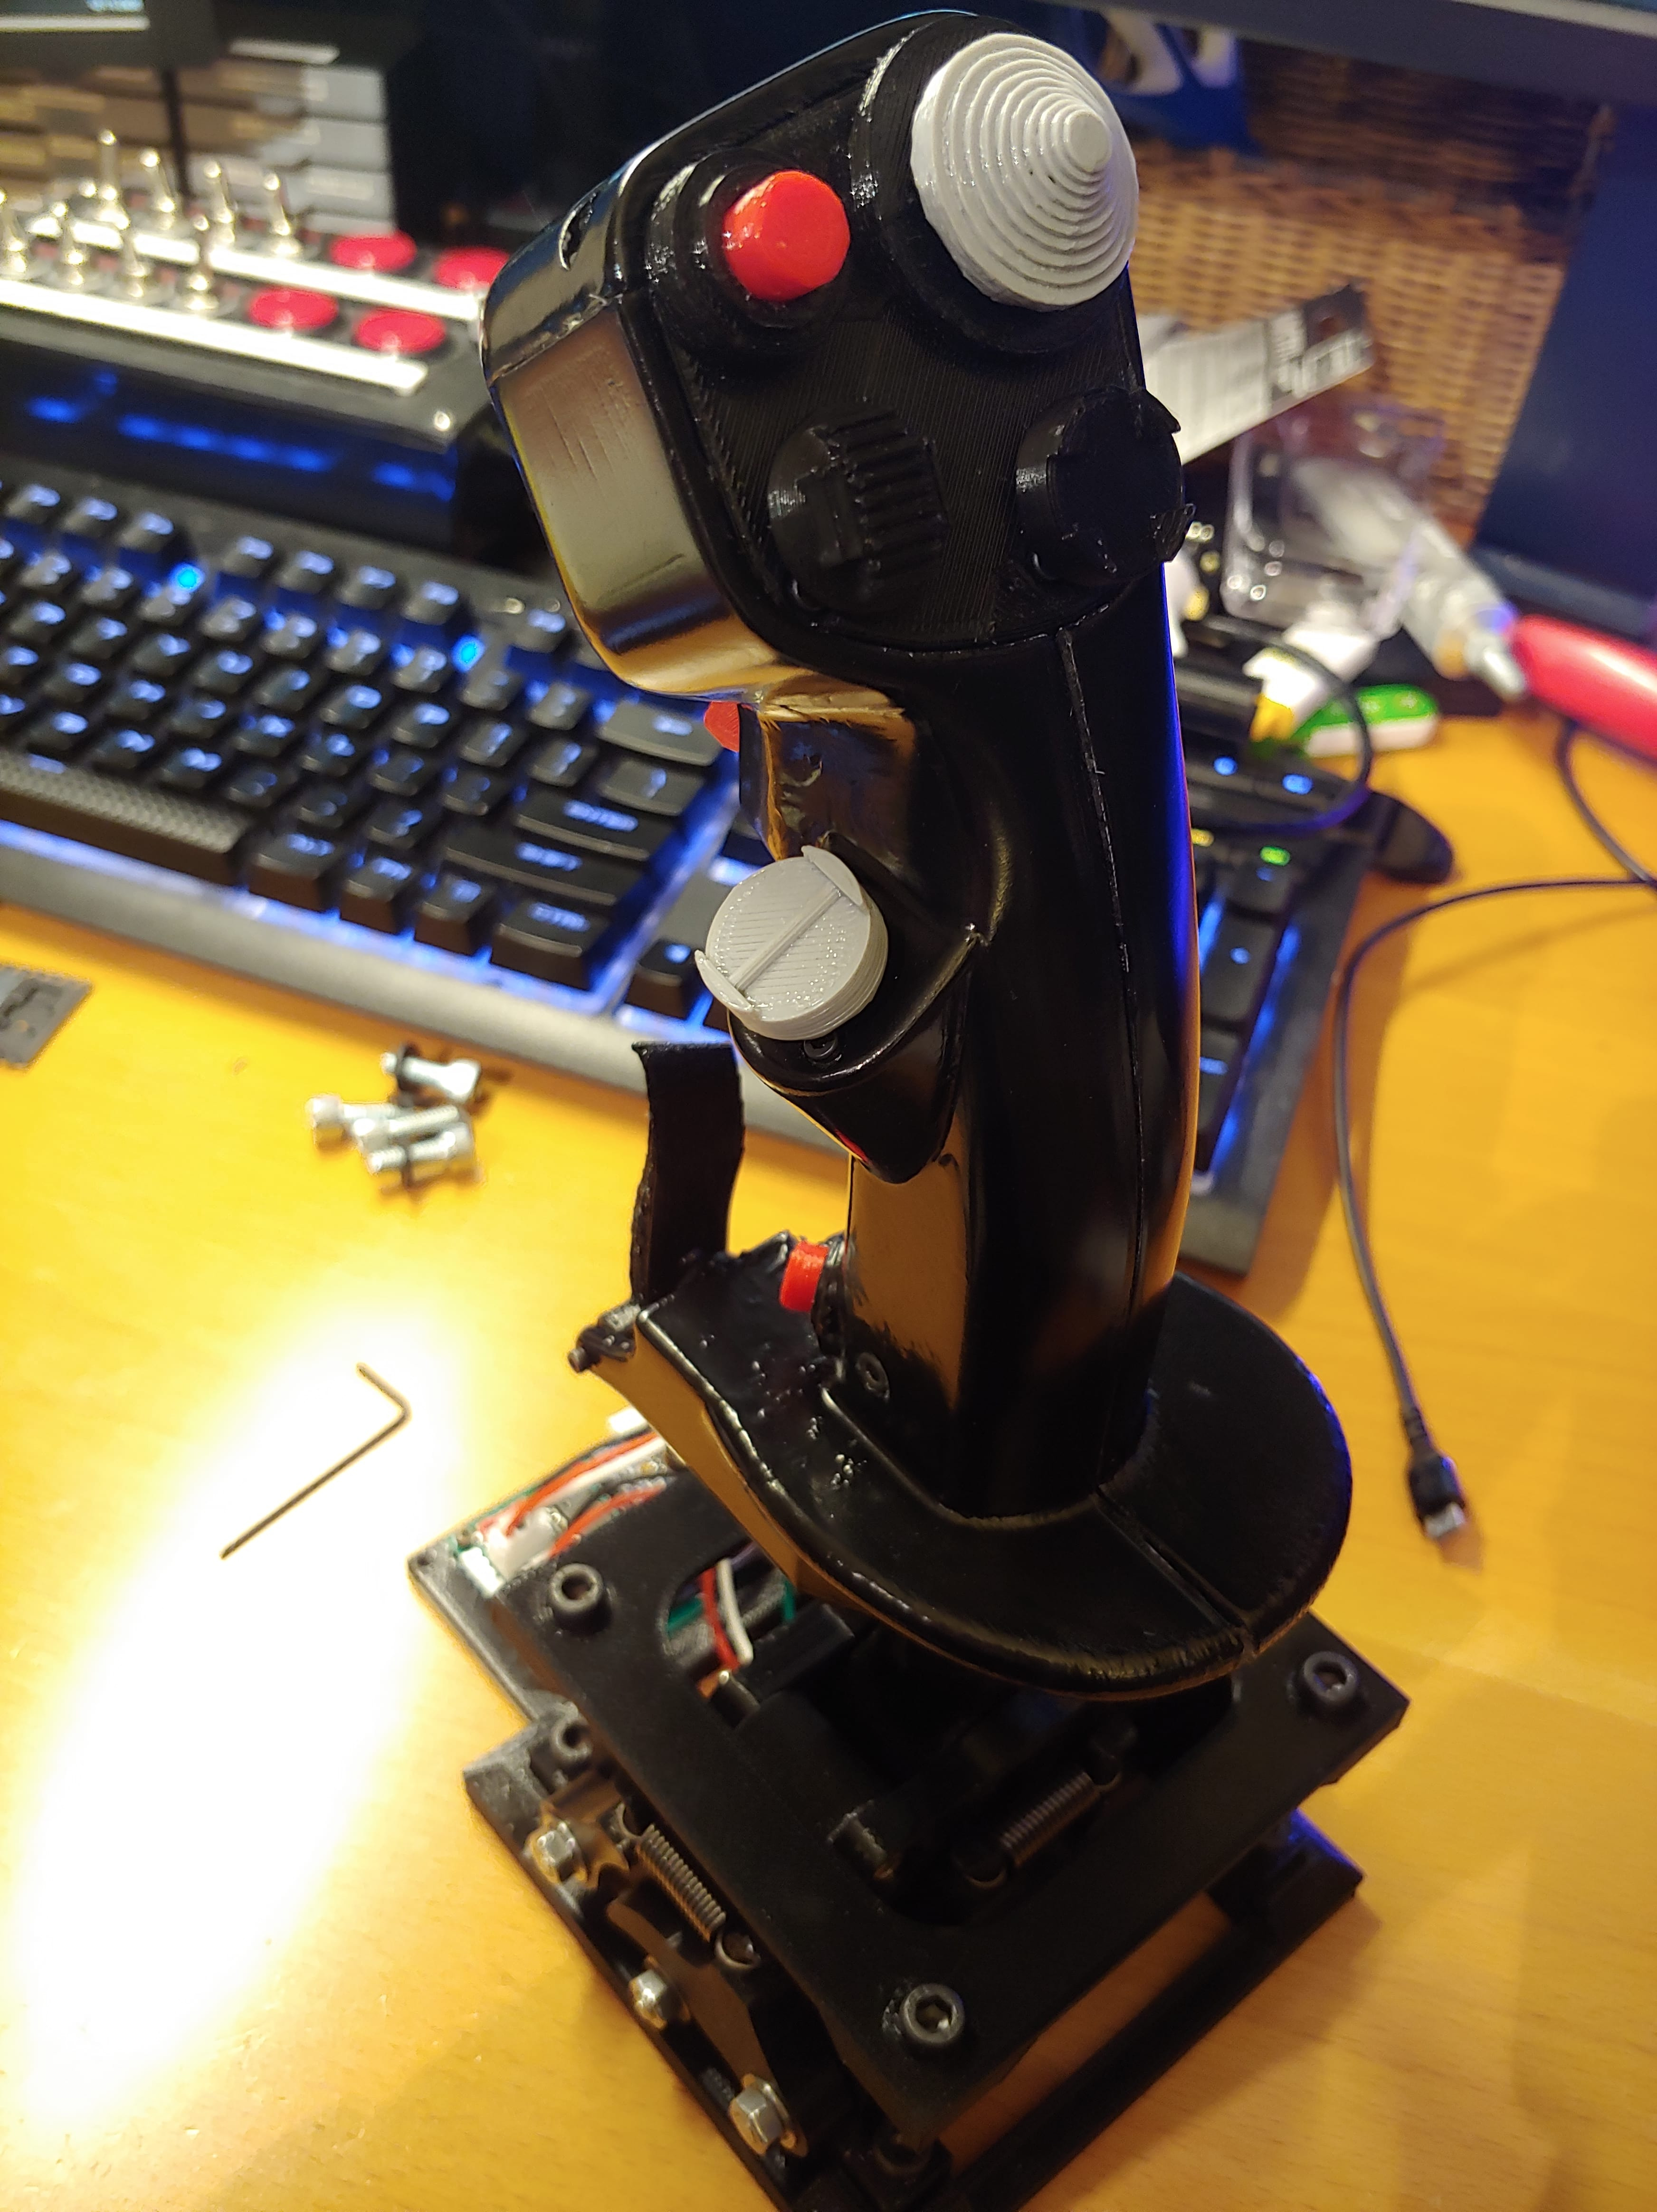
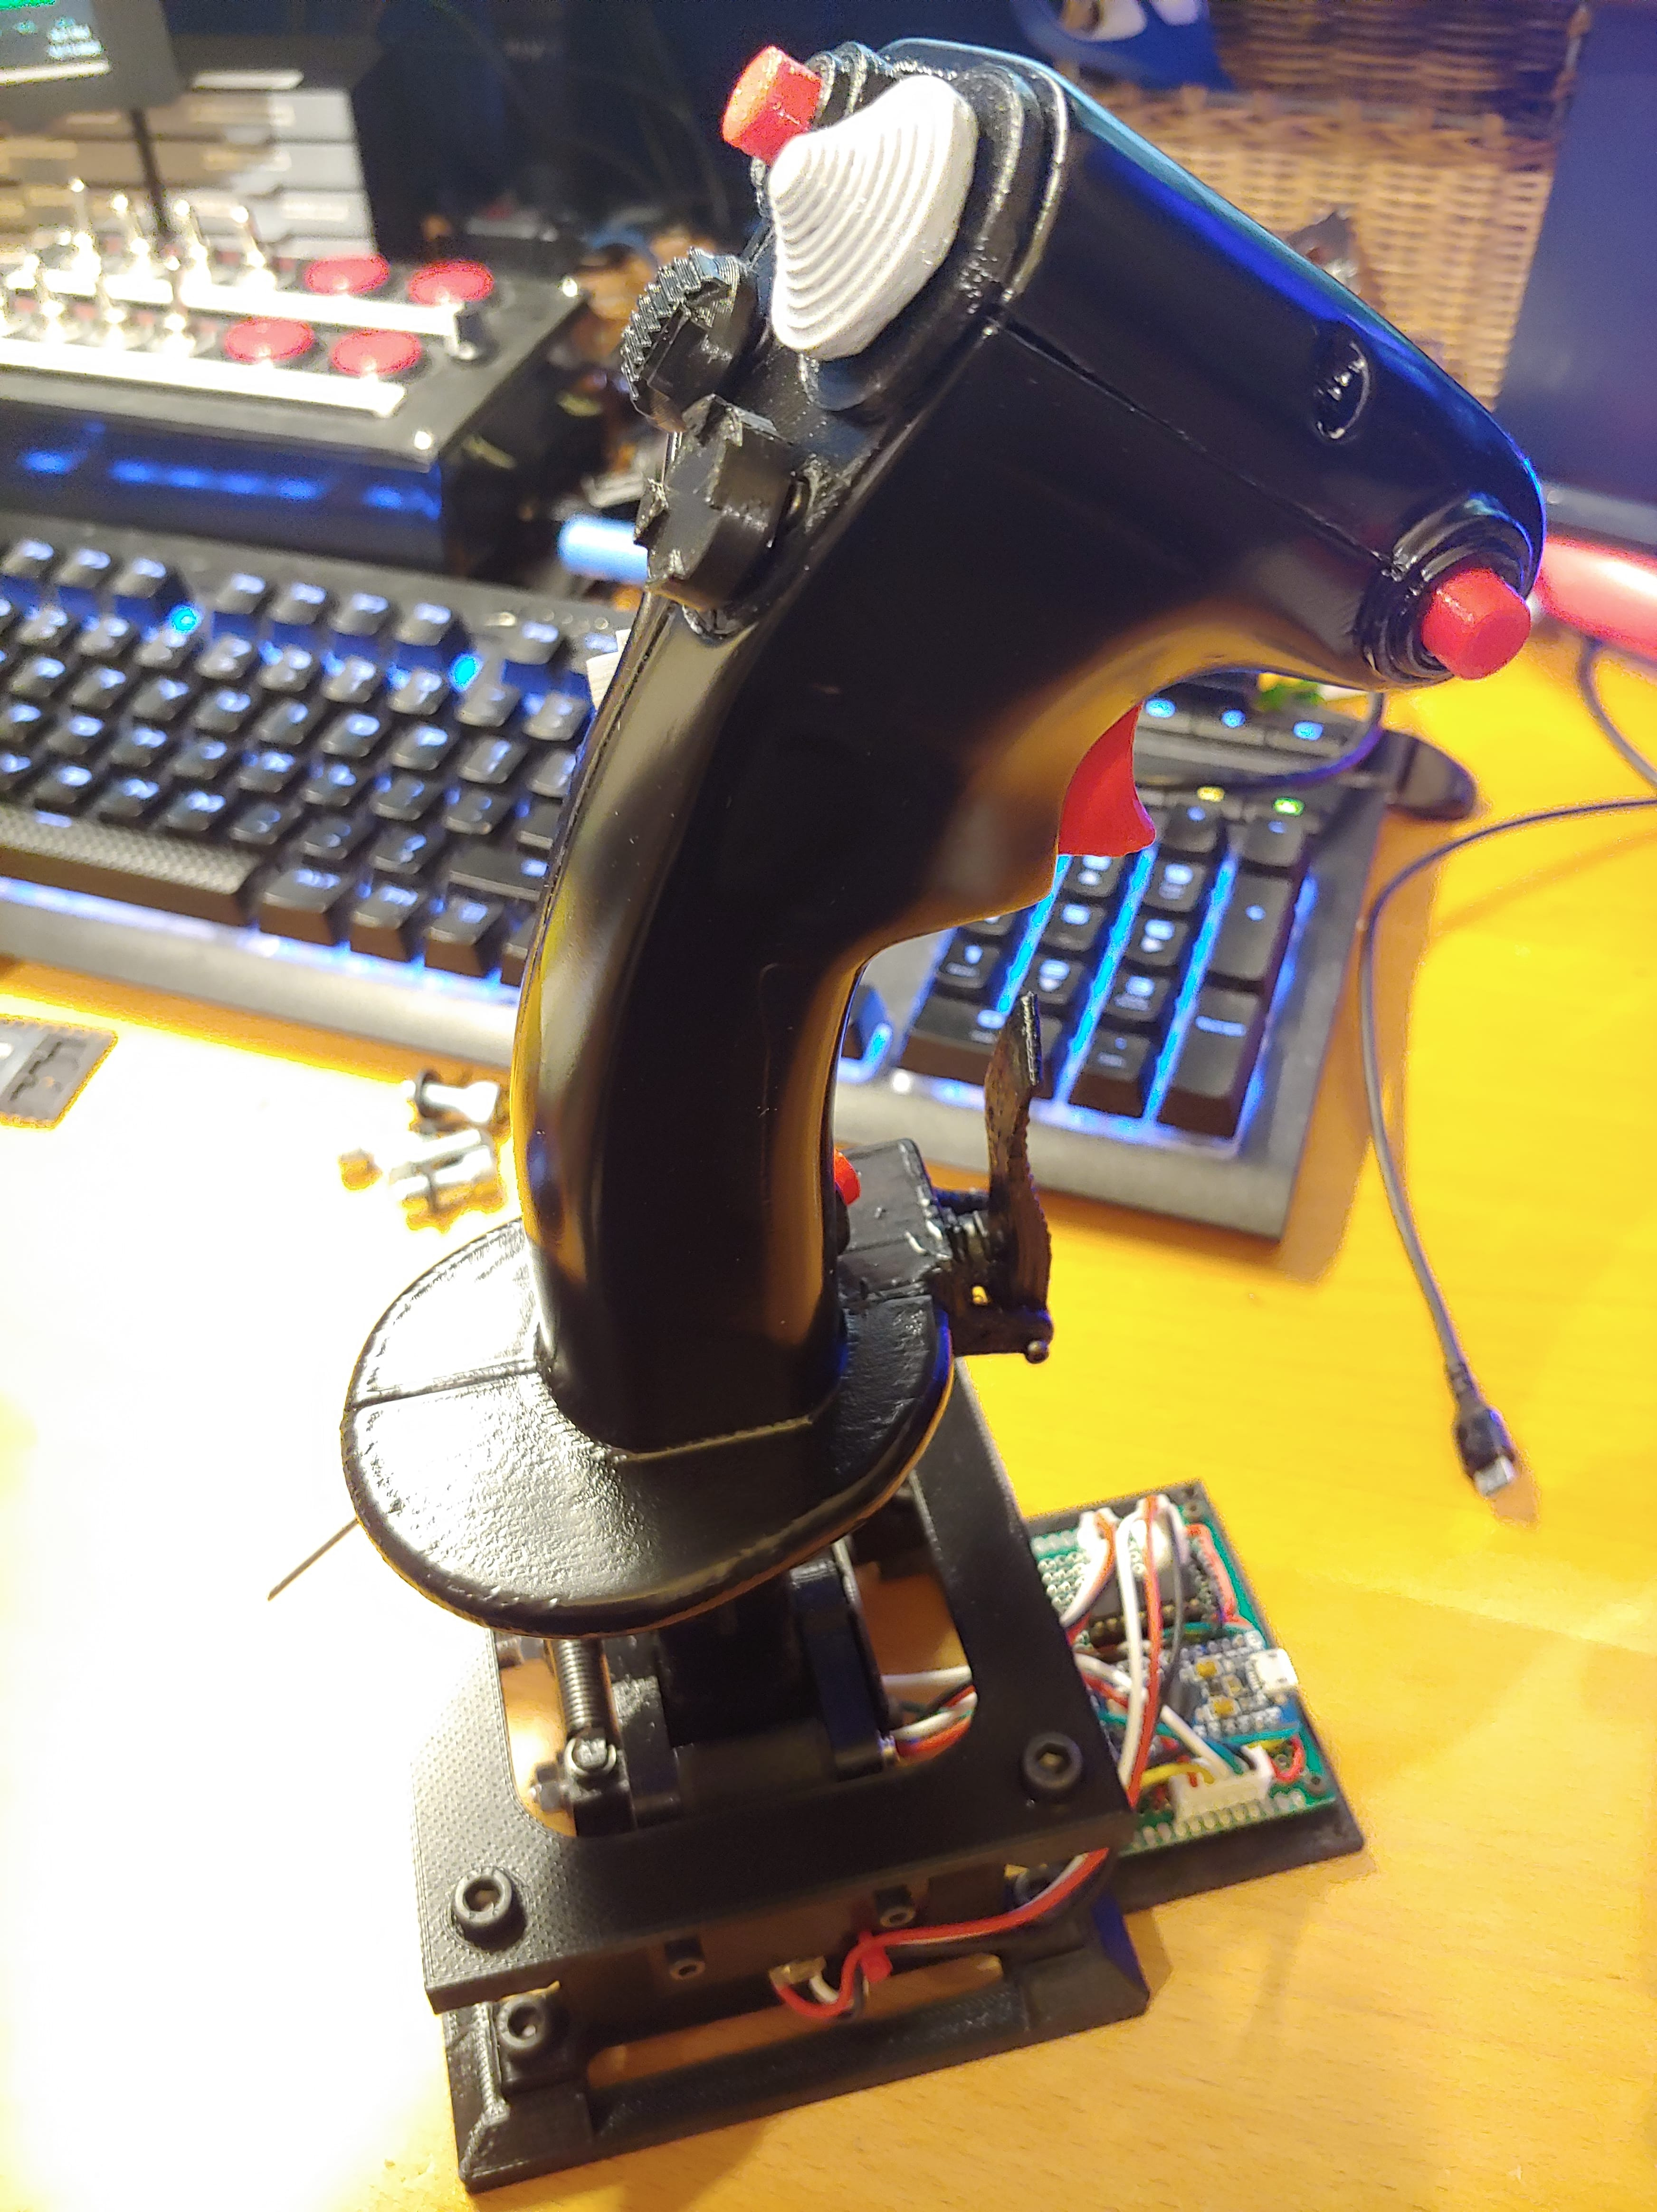
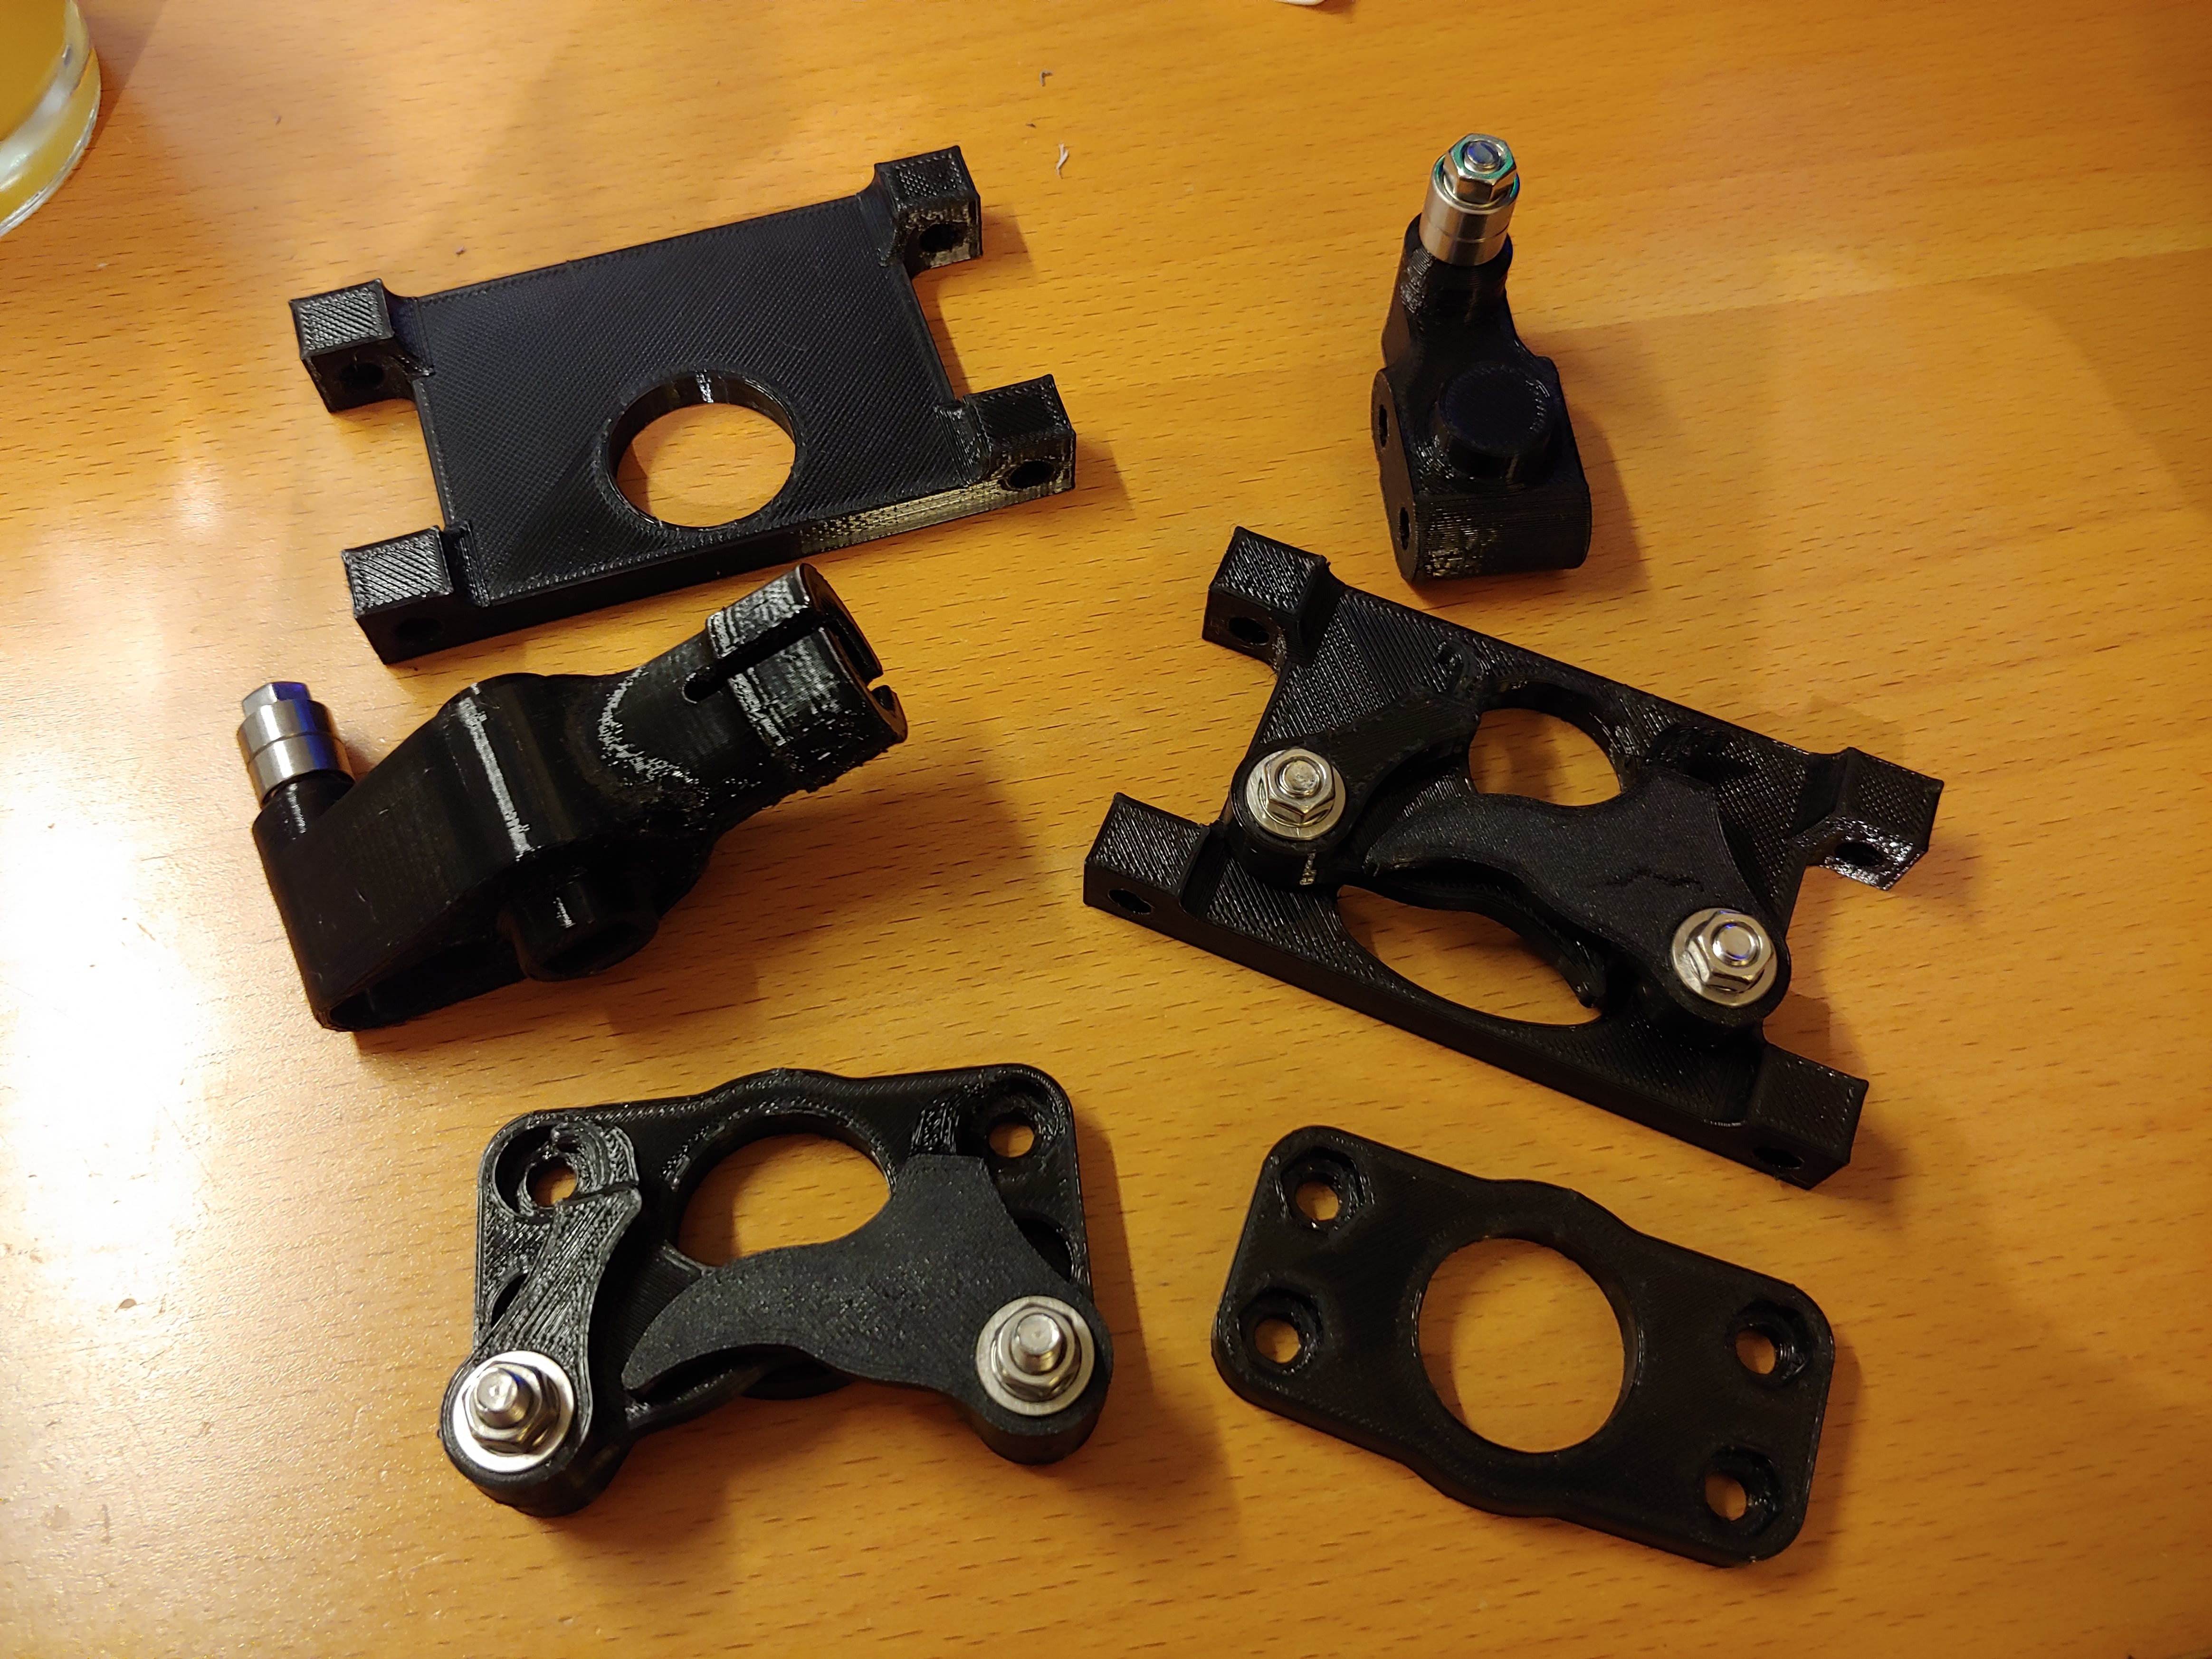
In October ‘20, I started building my own joystick. I had been using a Saitek X52 Pro, which has a single spring for centering and no axis separation, which meant a deadzone in centering, and no feedback for crossing an axis. I found a gimbal design by olukelo that used cam centering and separated axes, but had no sensor mounts. I used JFlyer81’s F-16 joystick grip design because I can’t design anything remotely ergonomic. I had to print an adapter to make the two work together, and built all the electronics myself.
Grip
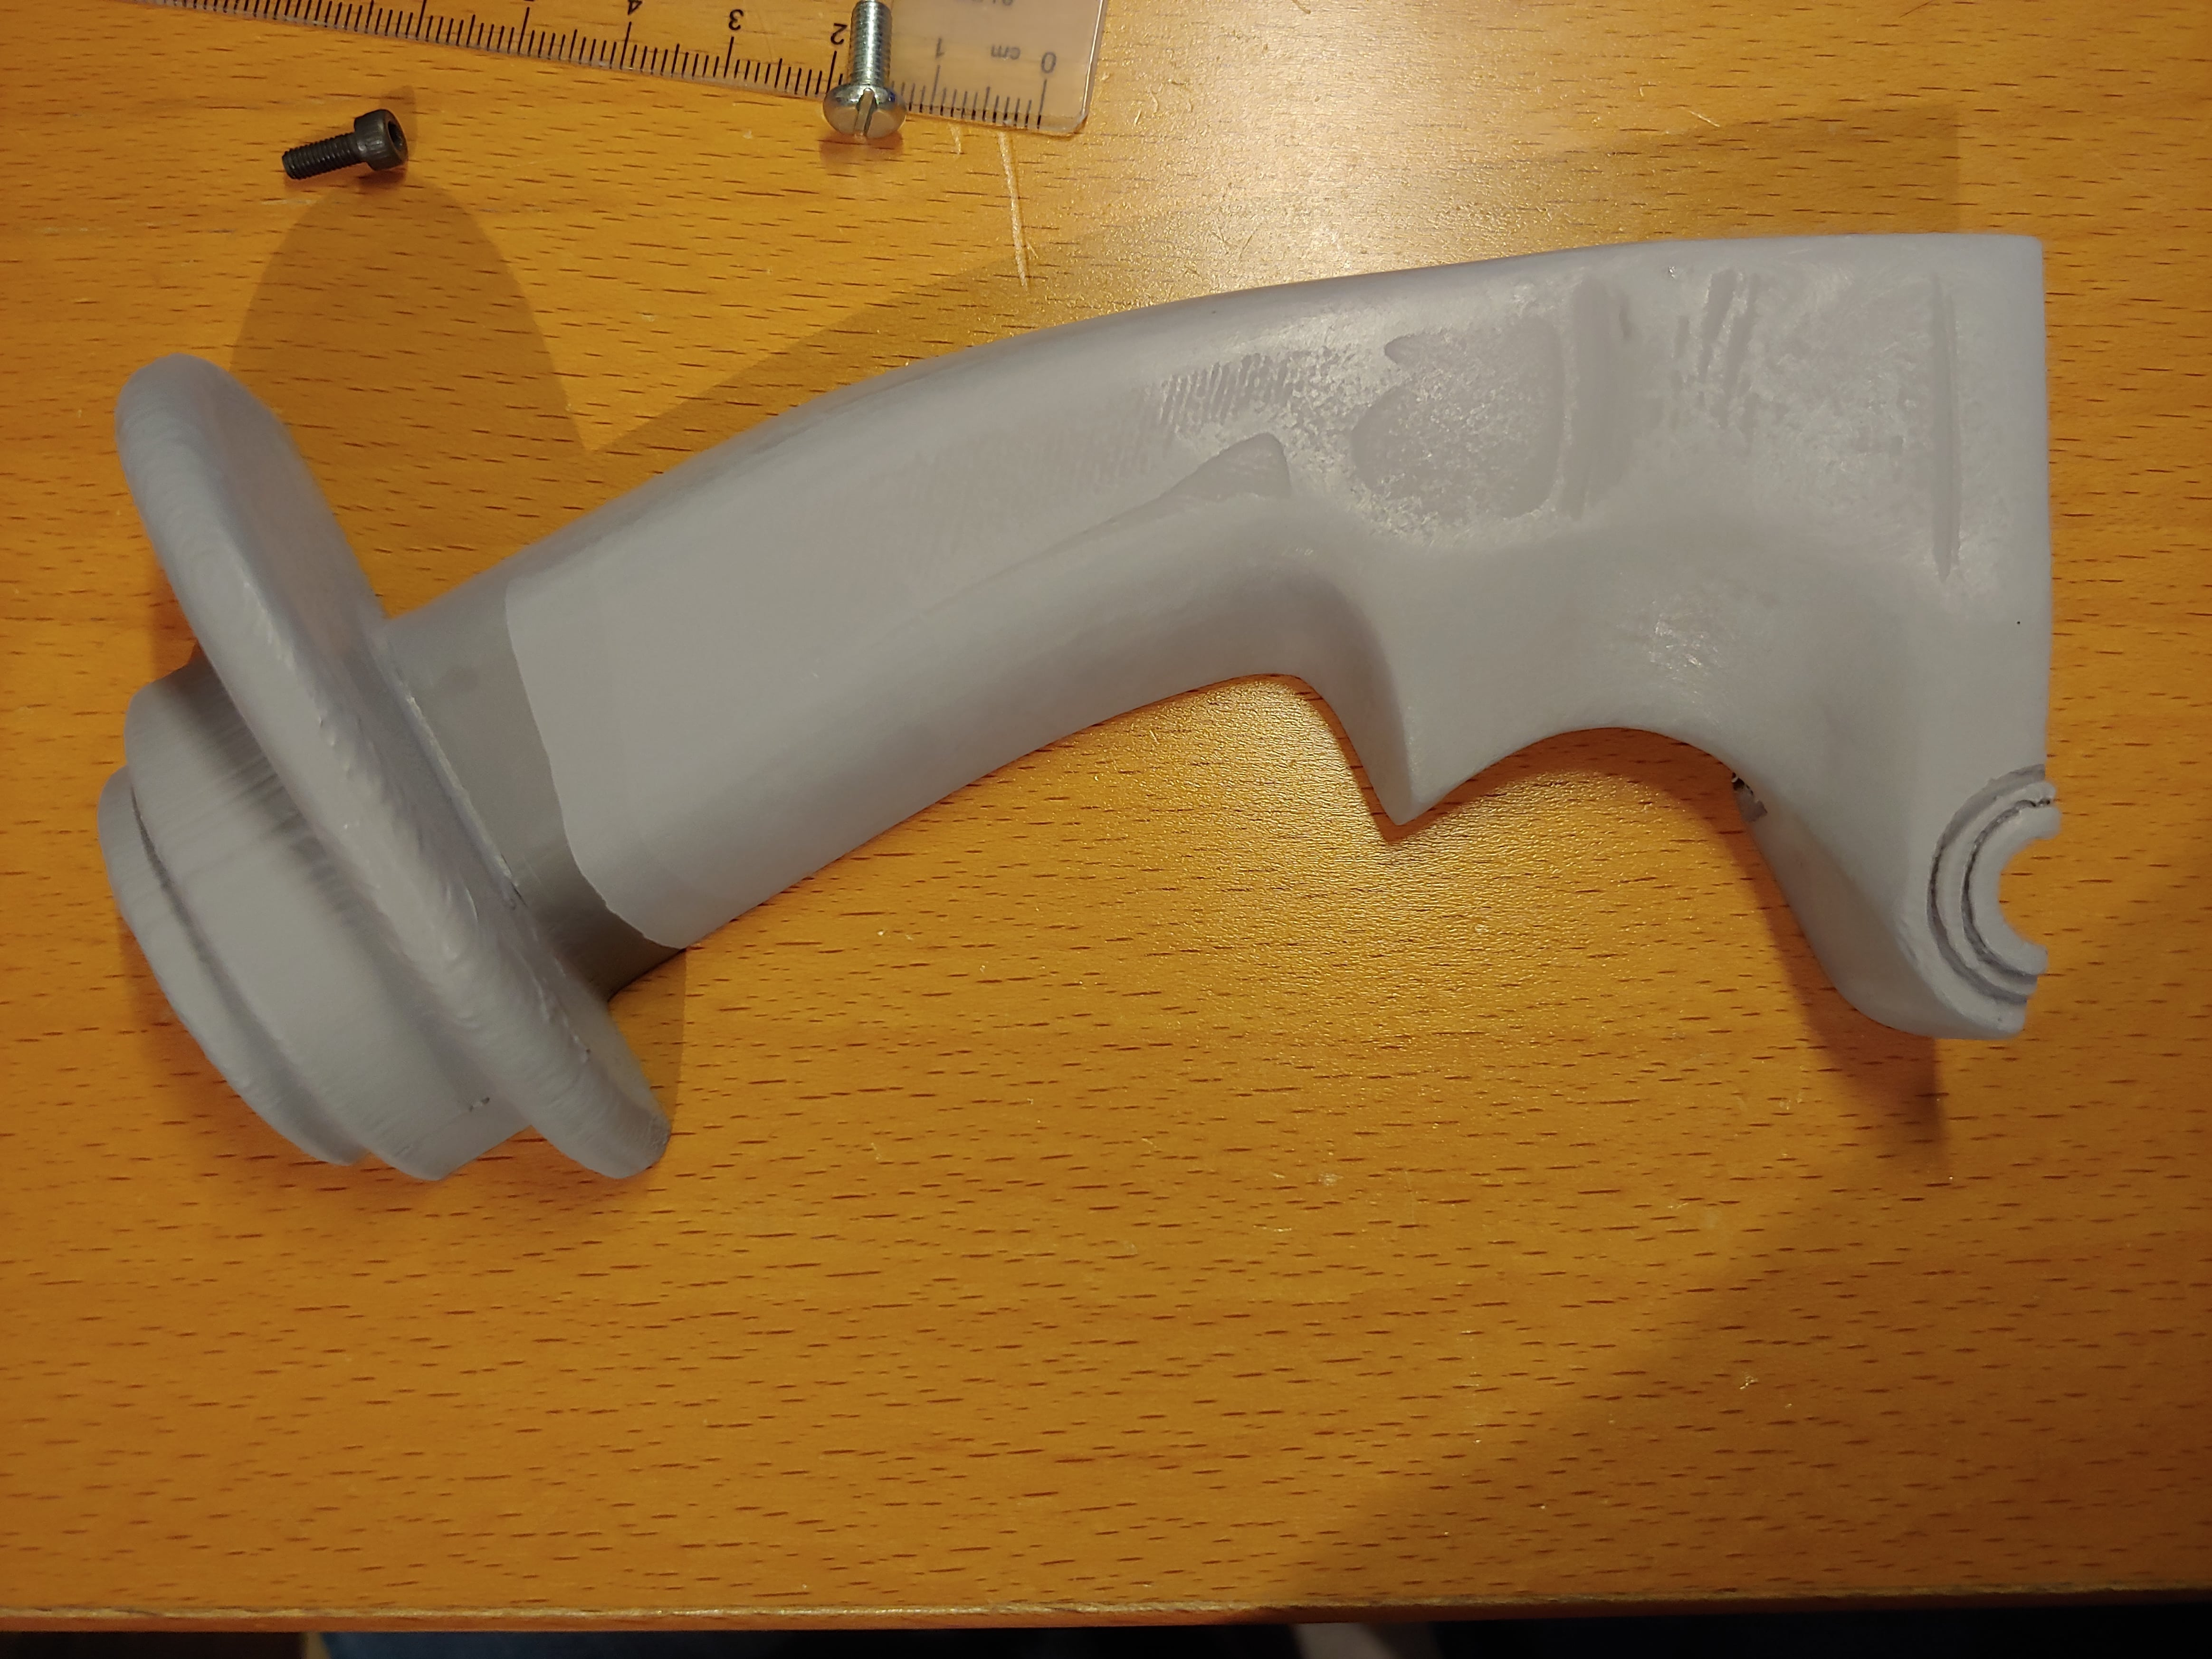
I first printed the grip in PLA and spent a few hours sanding it smooth, by going from 120 grit to 2000 grit sandpaper, but I stripped one of the tapped holes inside and had to reprint.
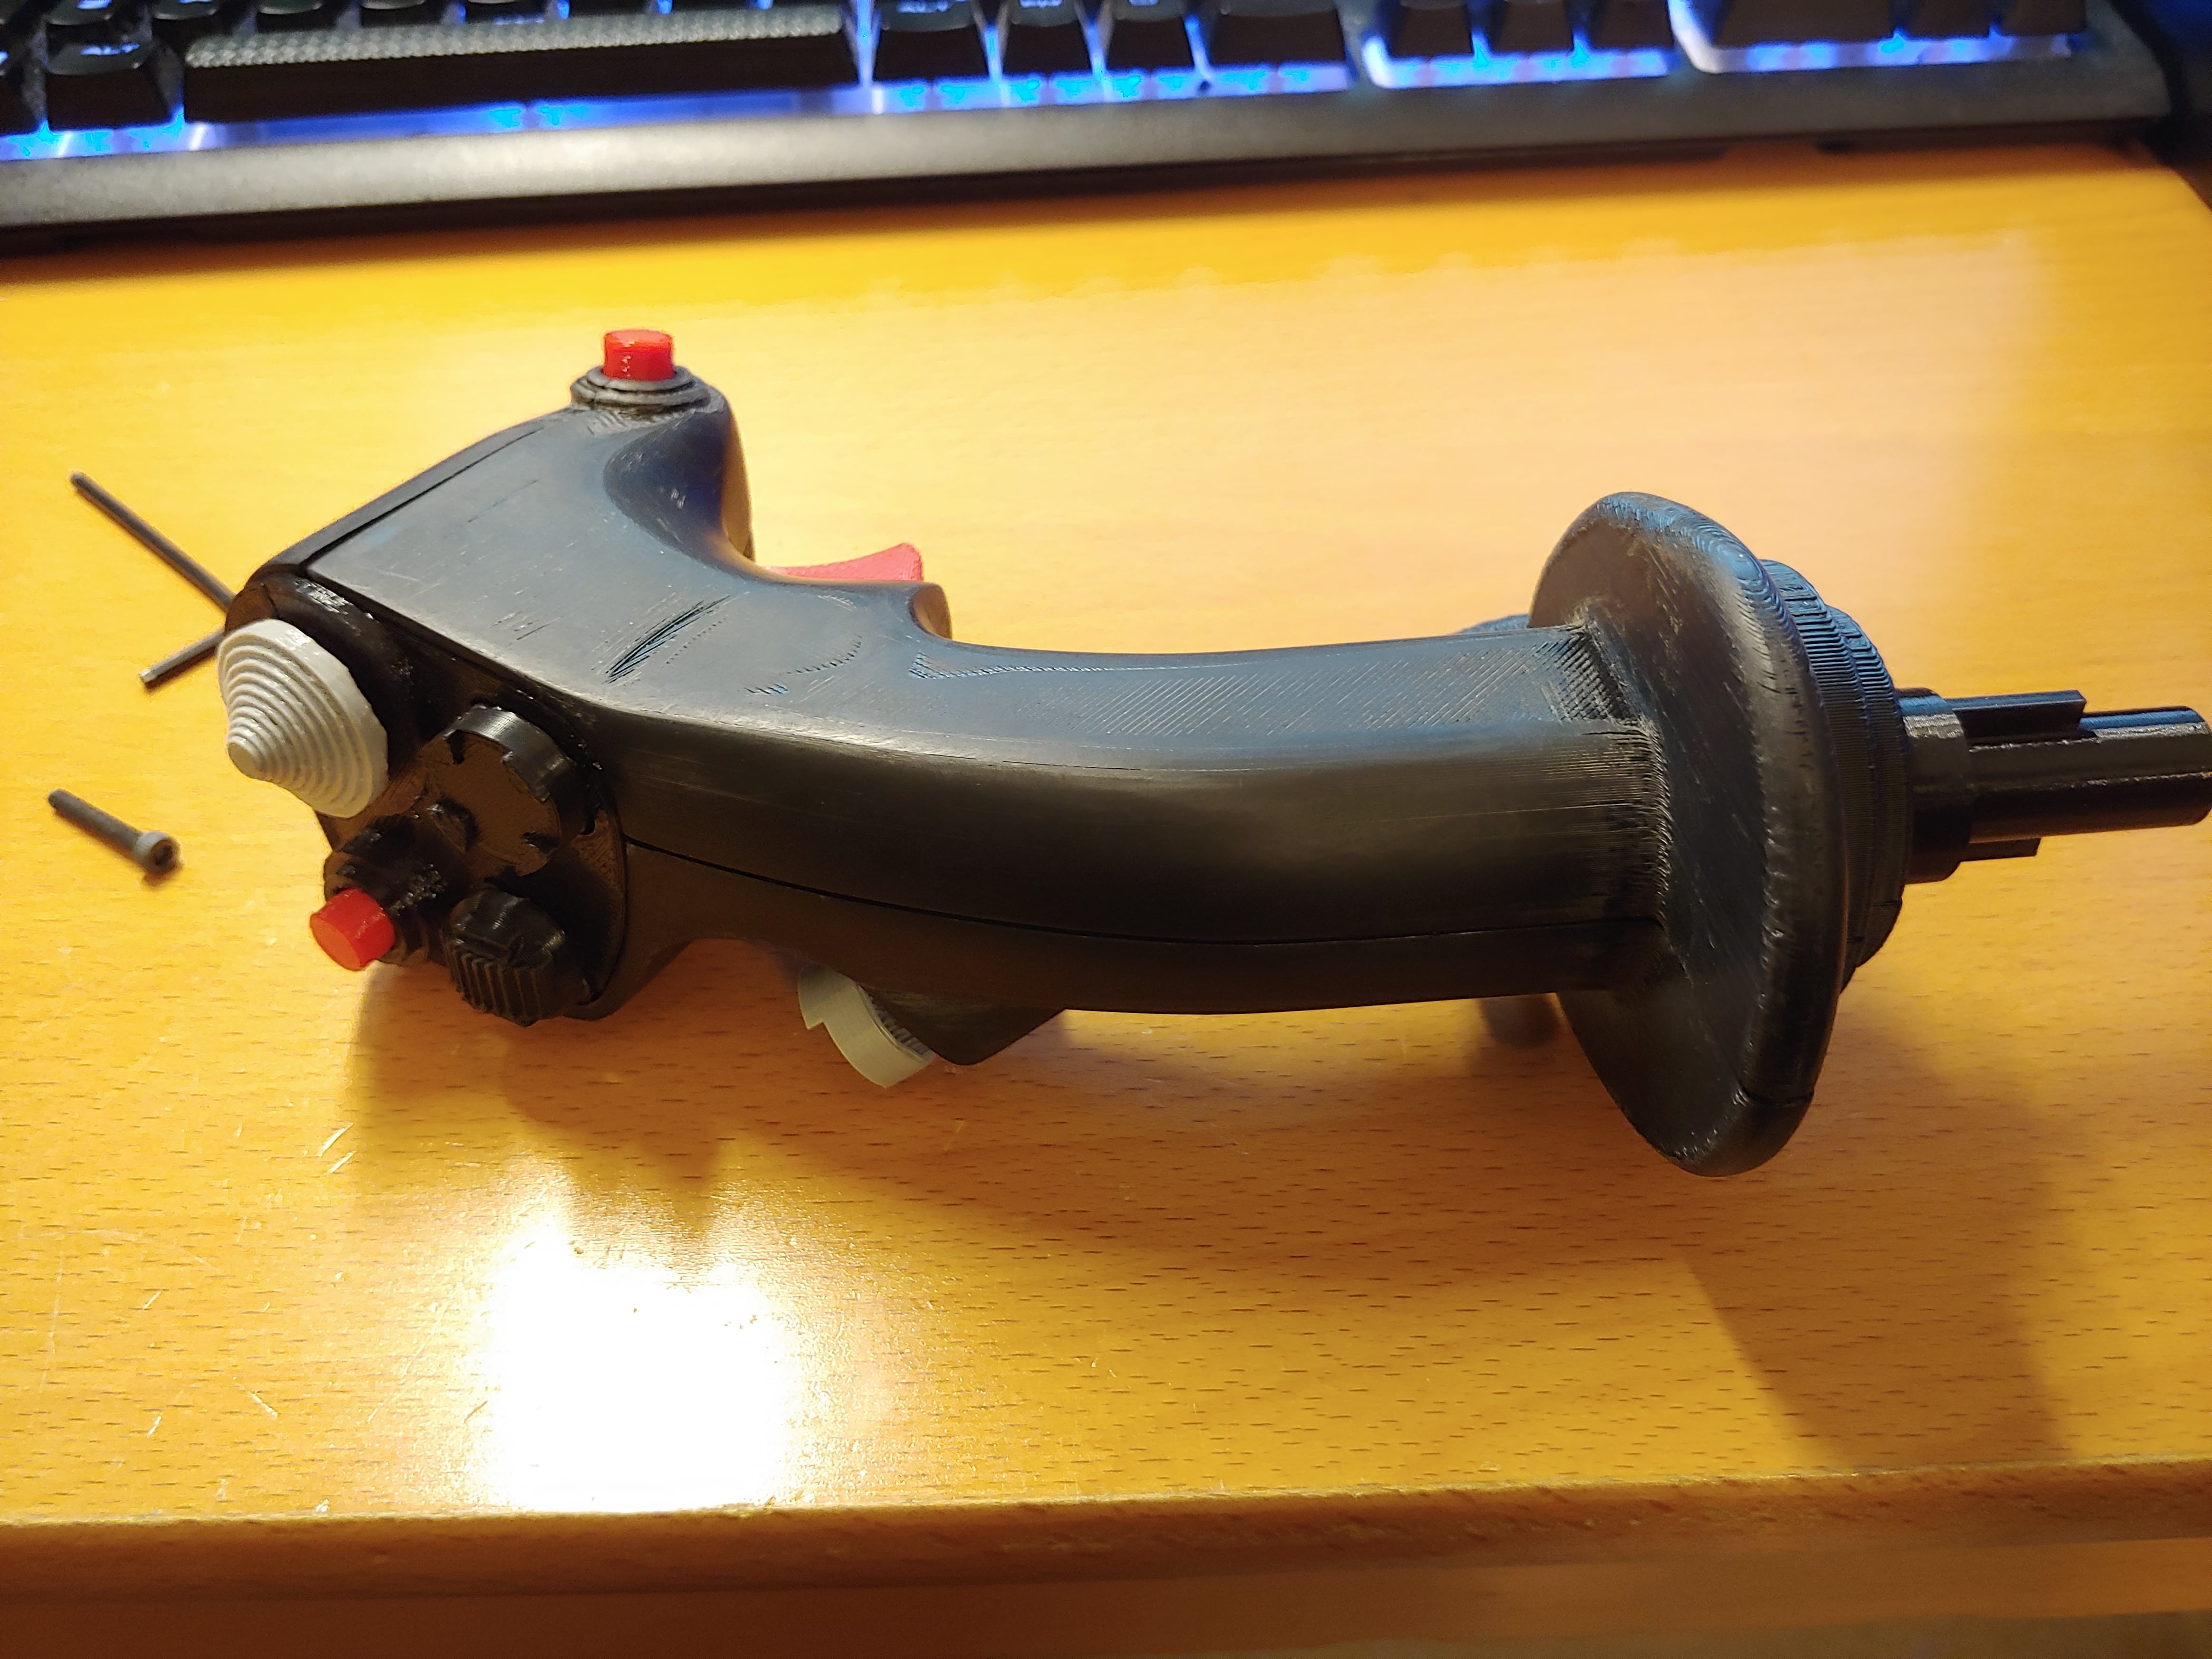
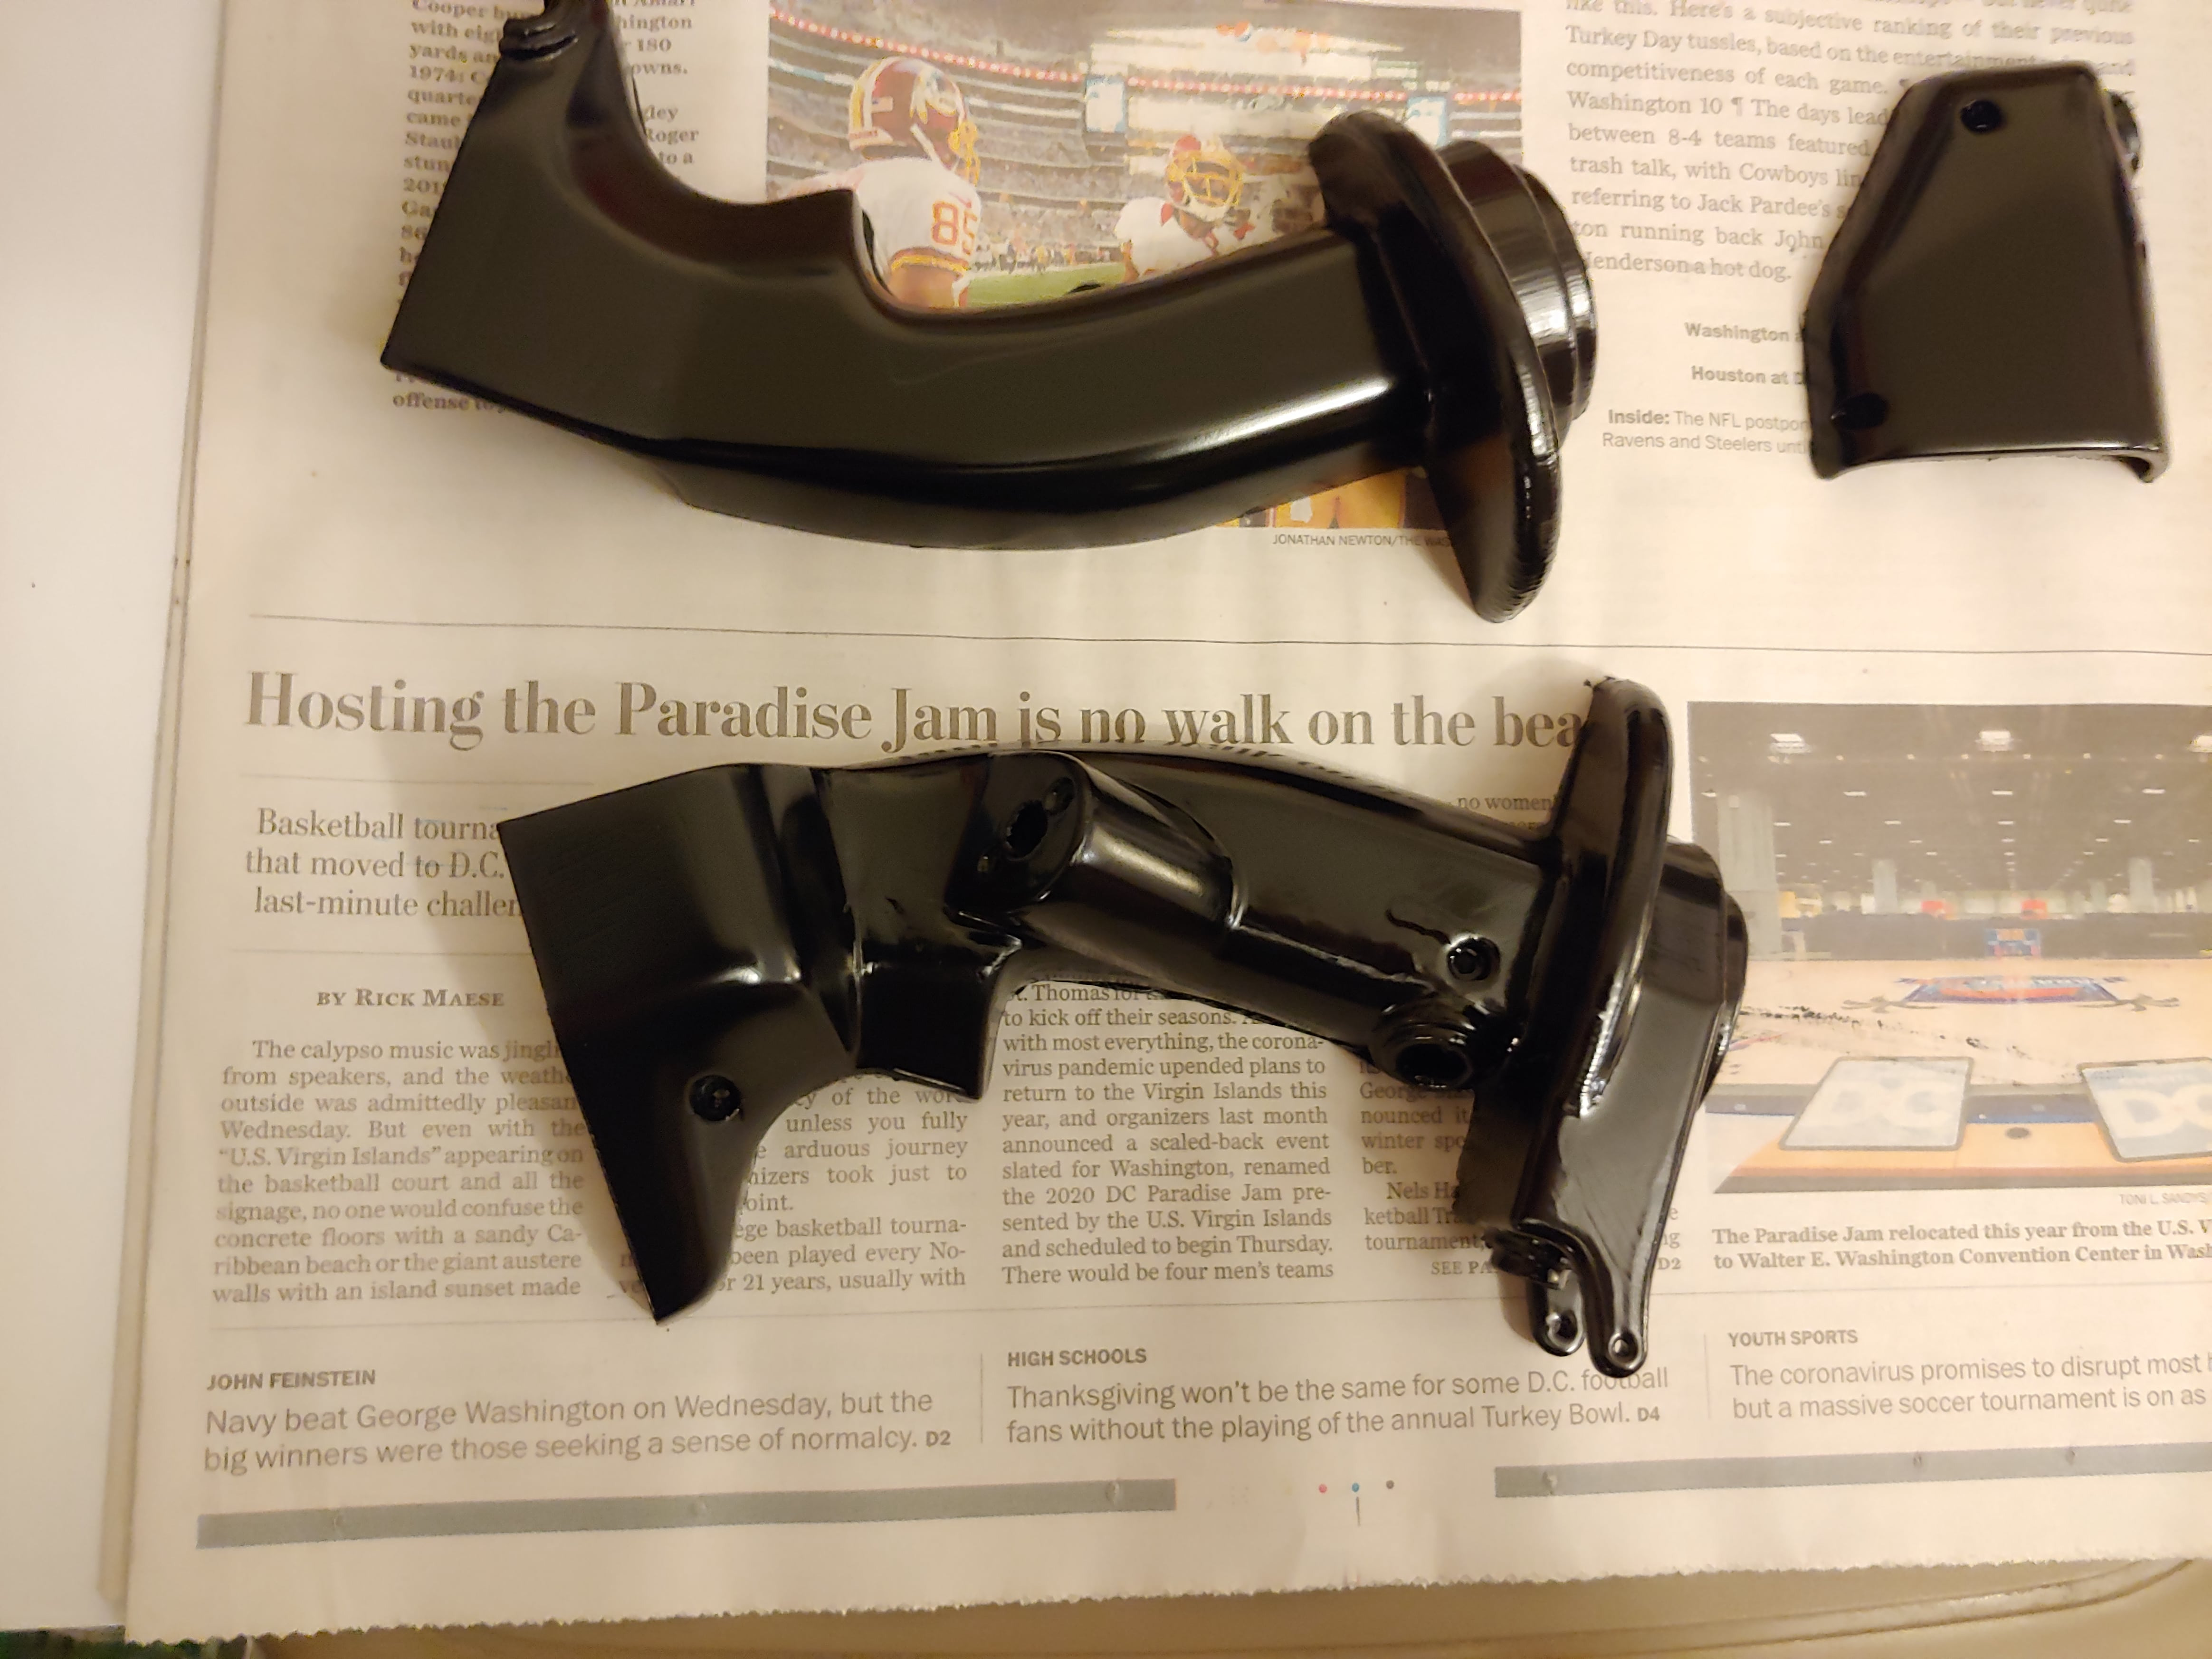
For the reprint, I decided to use gap filler primer along with sanding to give a smoother finish. Another member of the HOTAS discord recommended that I use automotive epoxy black paint for its durability.
The switches and hats all use 6mm tact switches in 3D printed enclosures, and the dual stage trigger uses two switches and a pen spring.
Sensor mounts
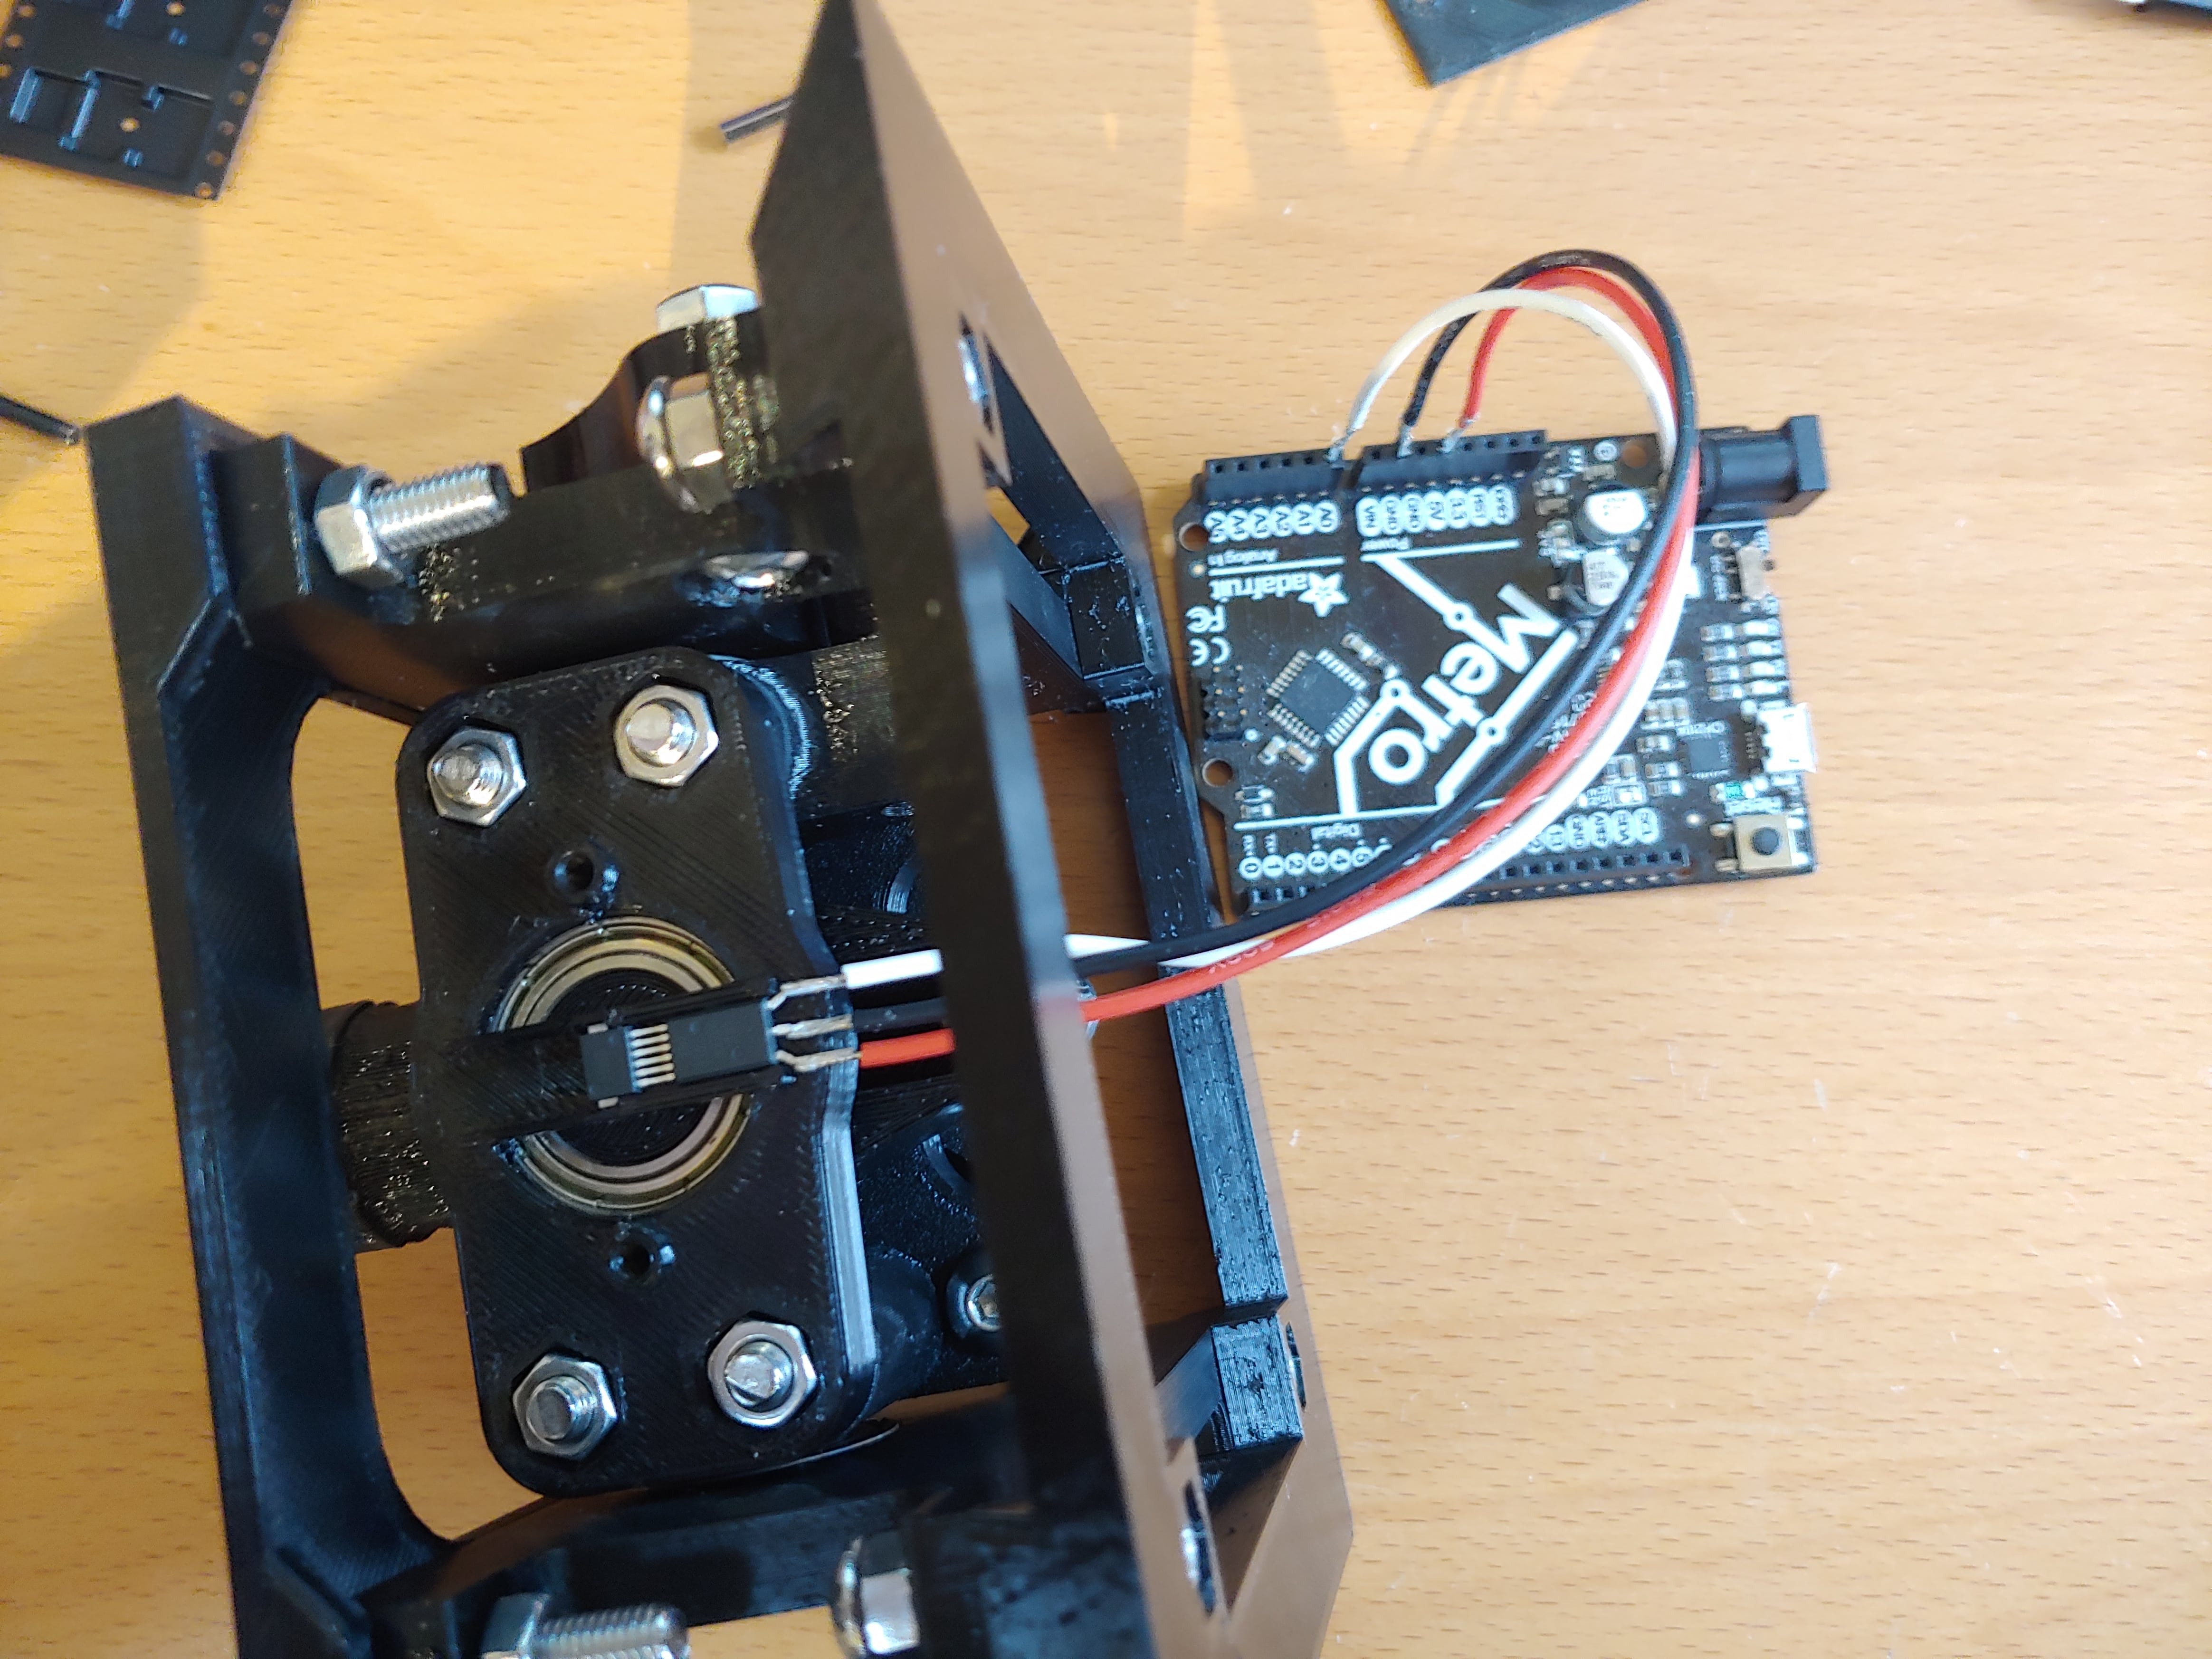
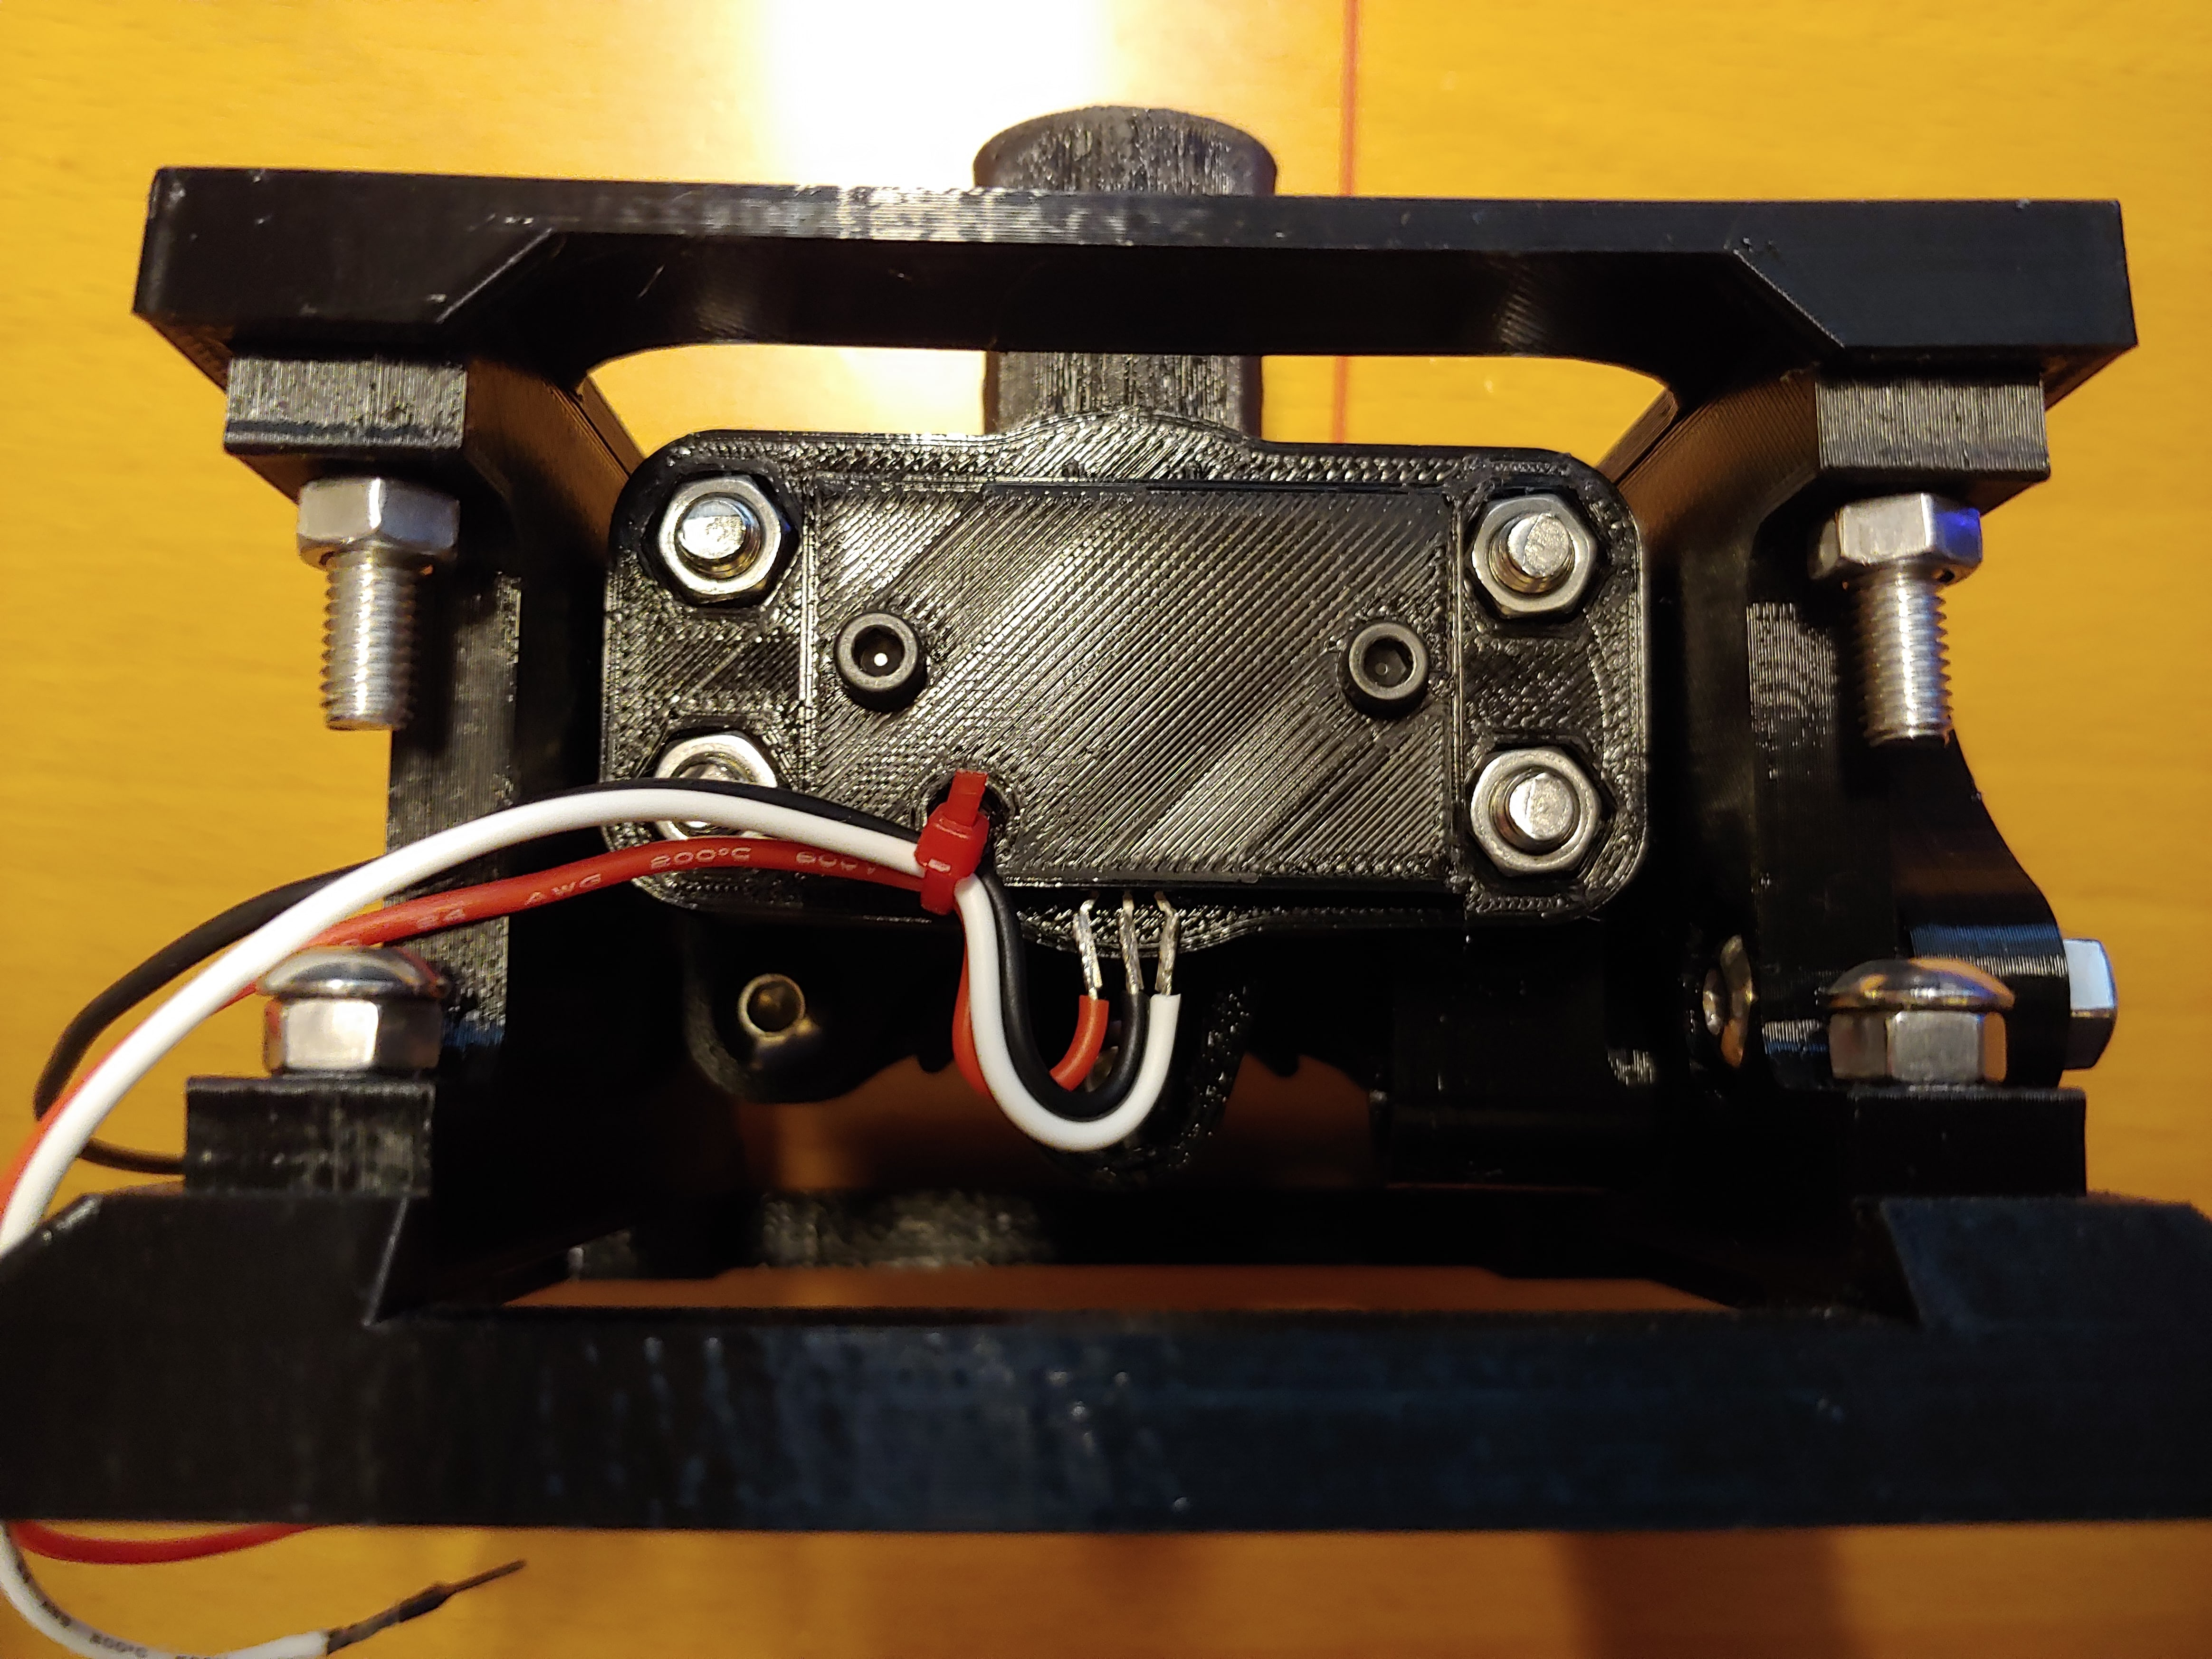
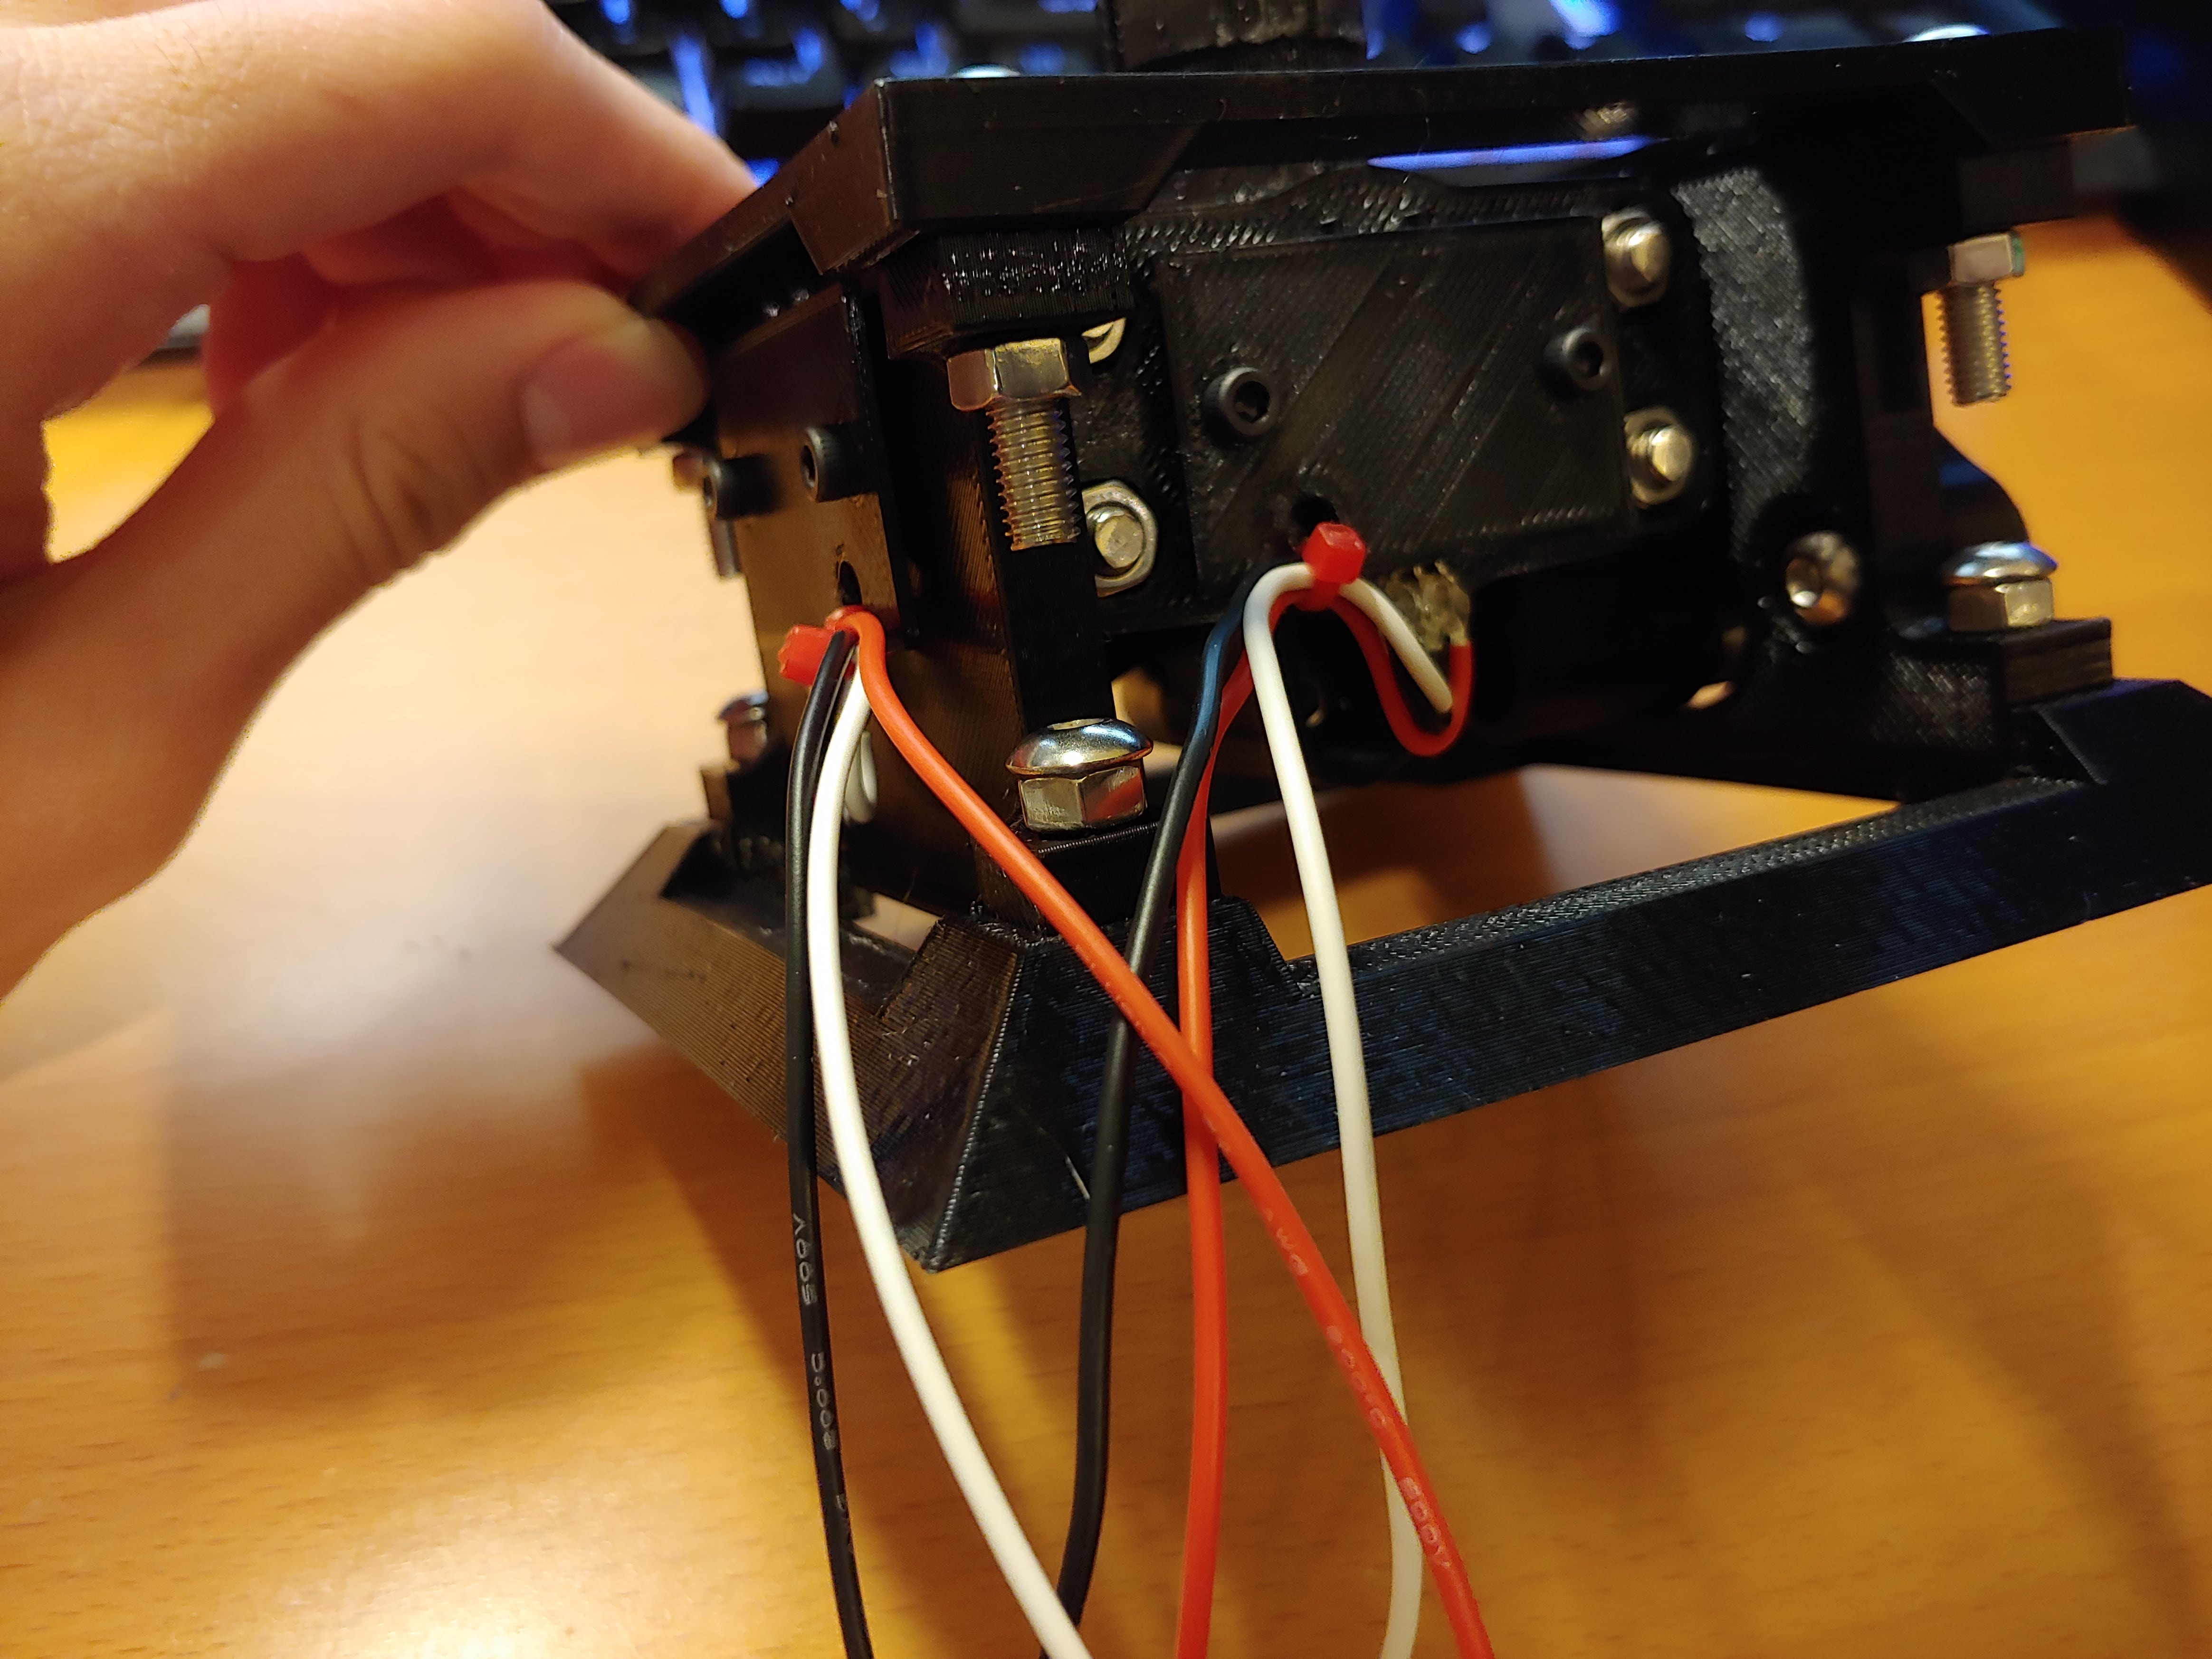
I had to design my own sensor mounts into the gimbal, so I used 5mm diameter 10mm long neodymium magnets in slots in the gimbal parts, and mounted KMA210 magrez sensors over them. Hall sensors would not work in this configuration, as they are best used when sandwiched between magnets, not placed over them.
Grip electronics
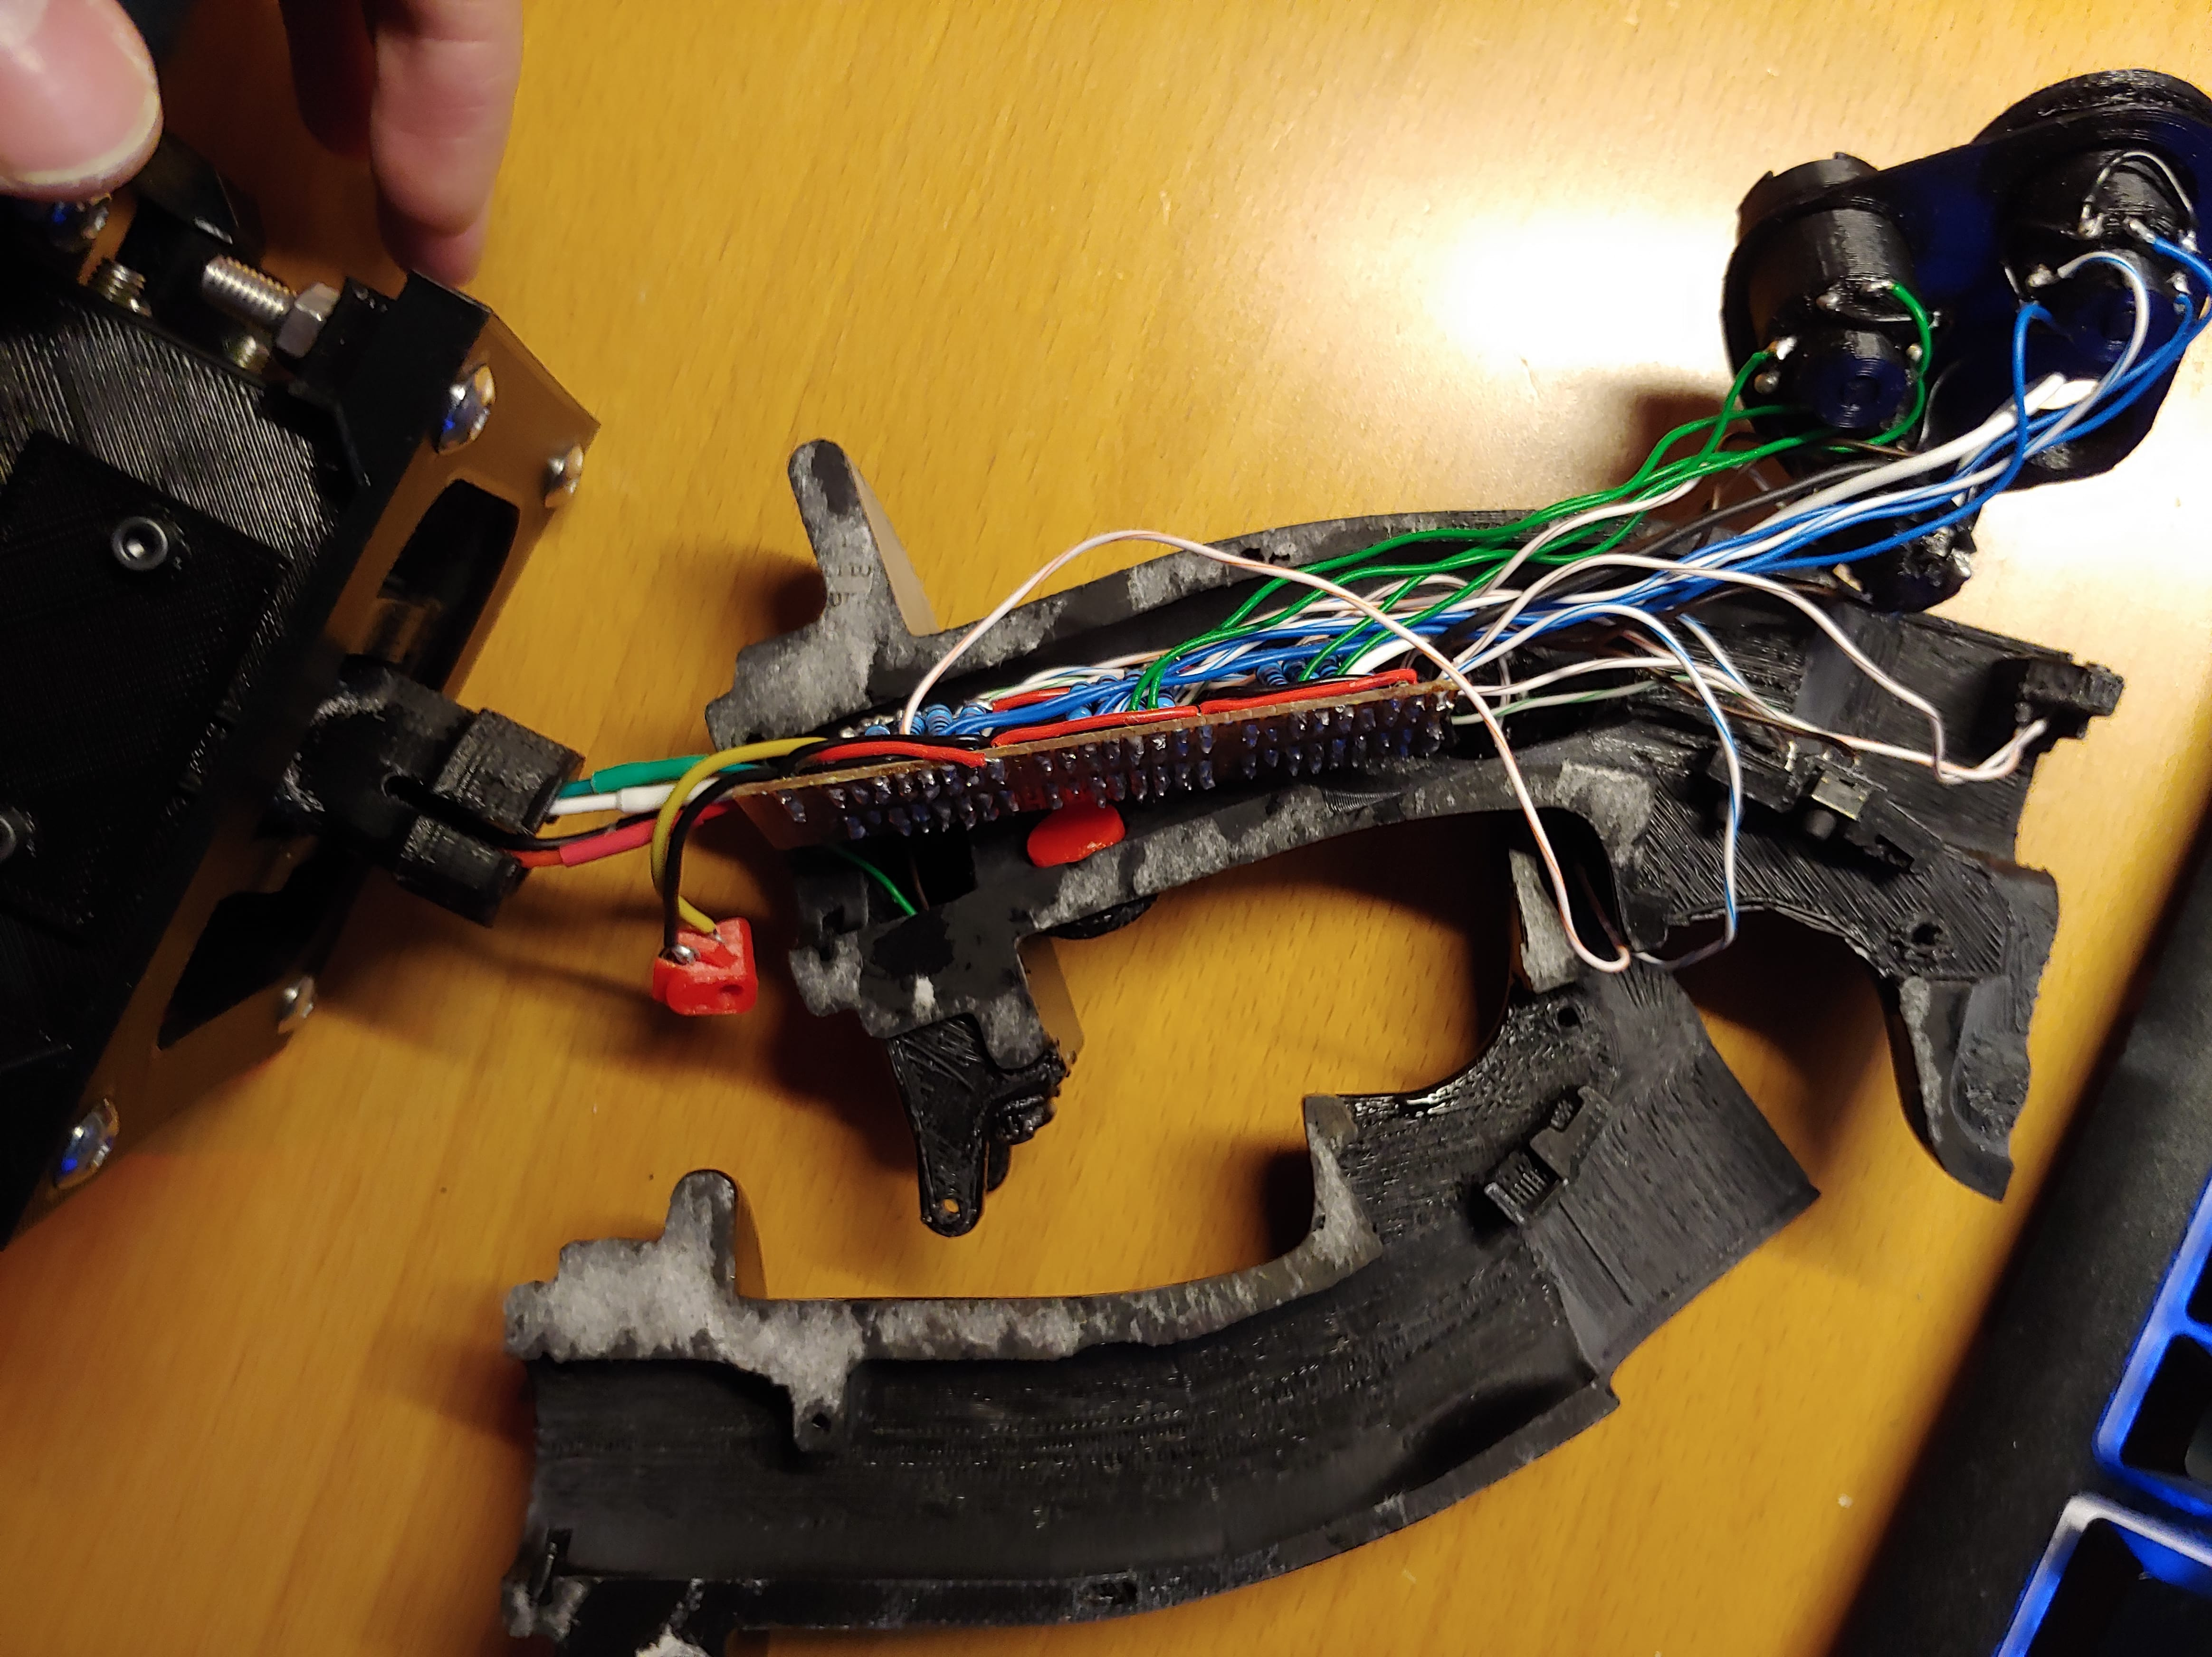
For the buttons in the grip, I used three shift registers mounted on veraboard to shift the 23 button inputs out over three data lines. I had to take wire from CAT5 ethernet cable because the 26 gauge wire I had was too thick to stuff inside the grip.
Base electronics
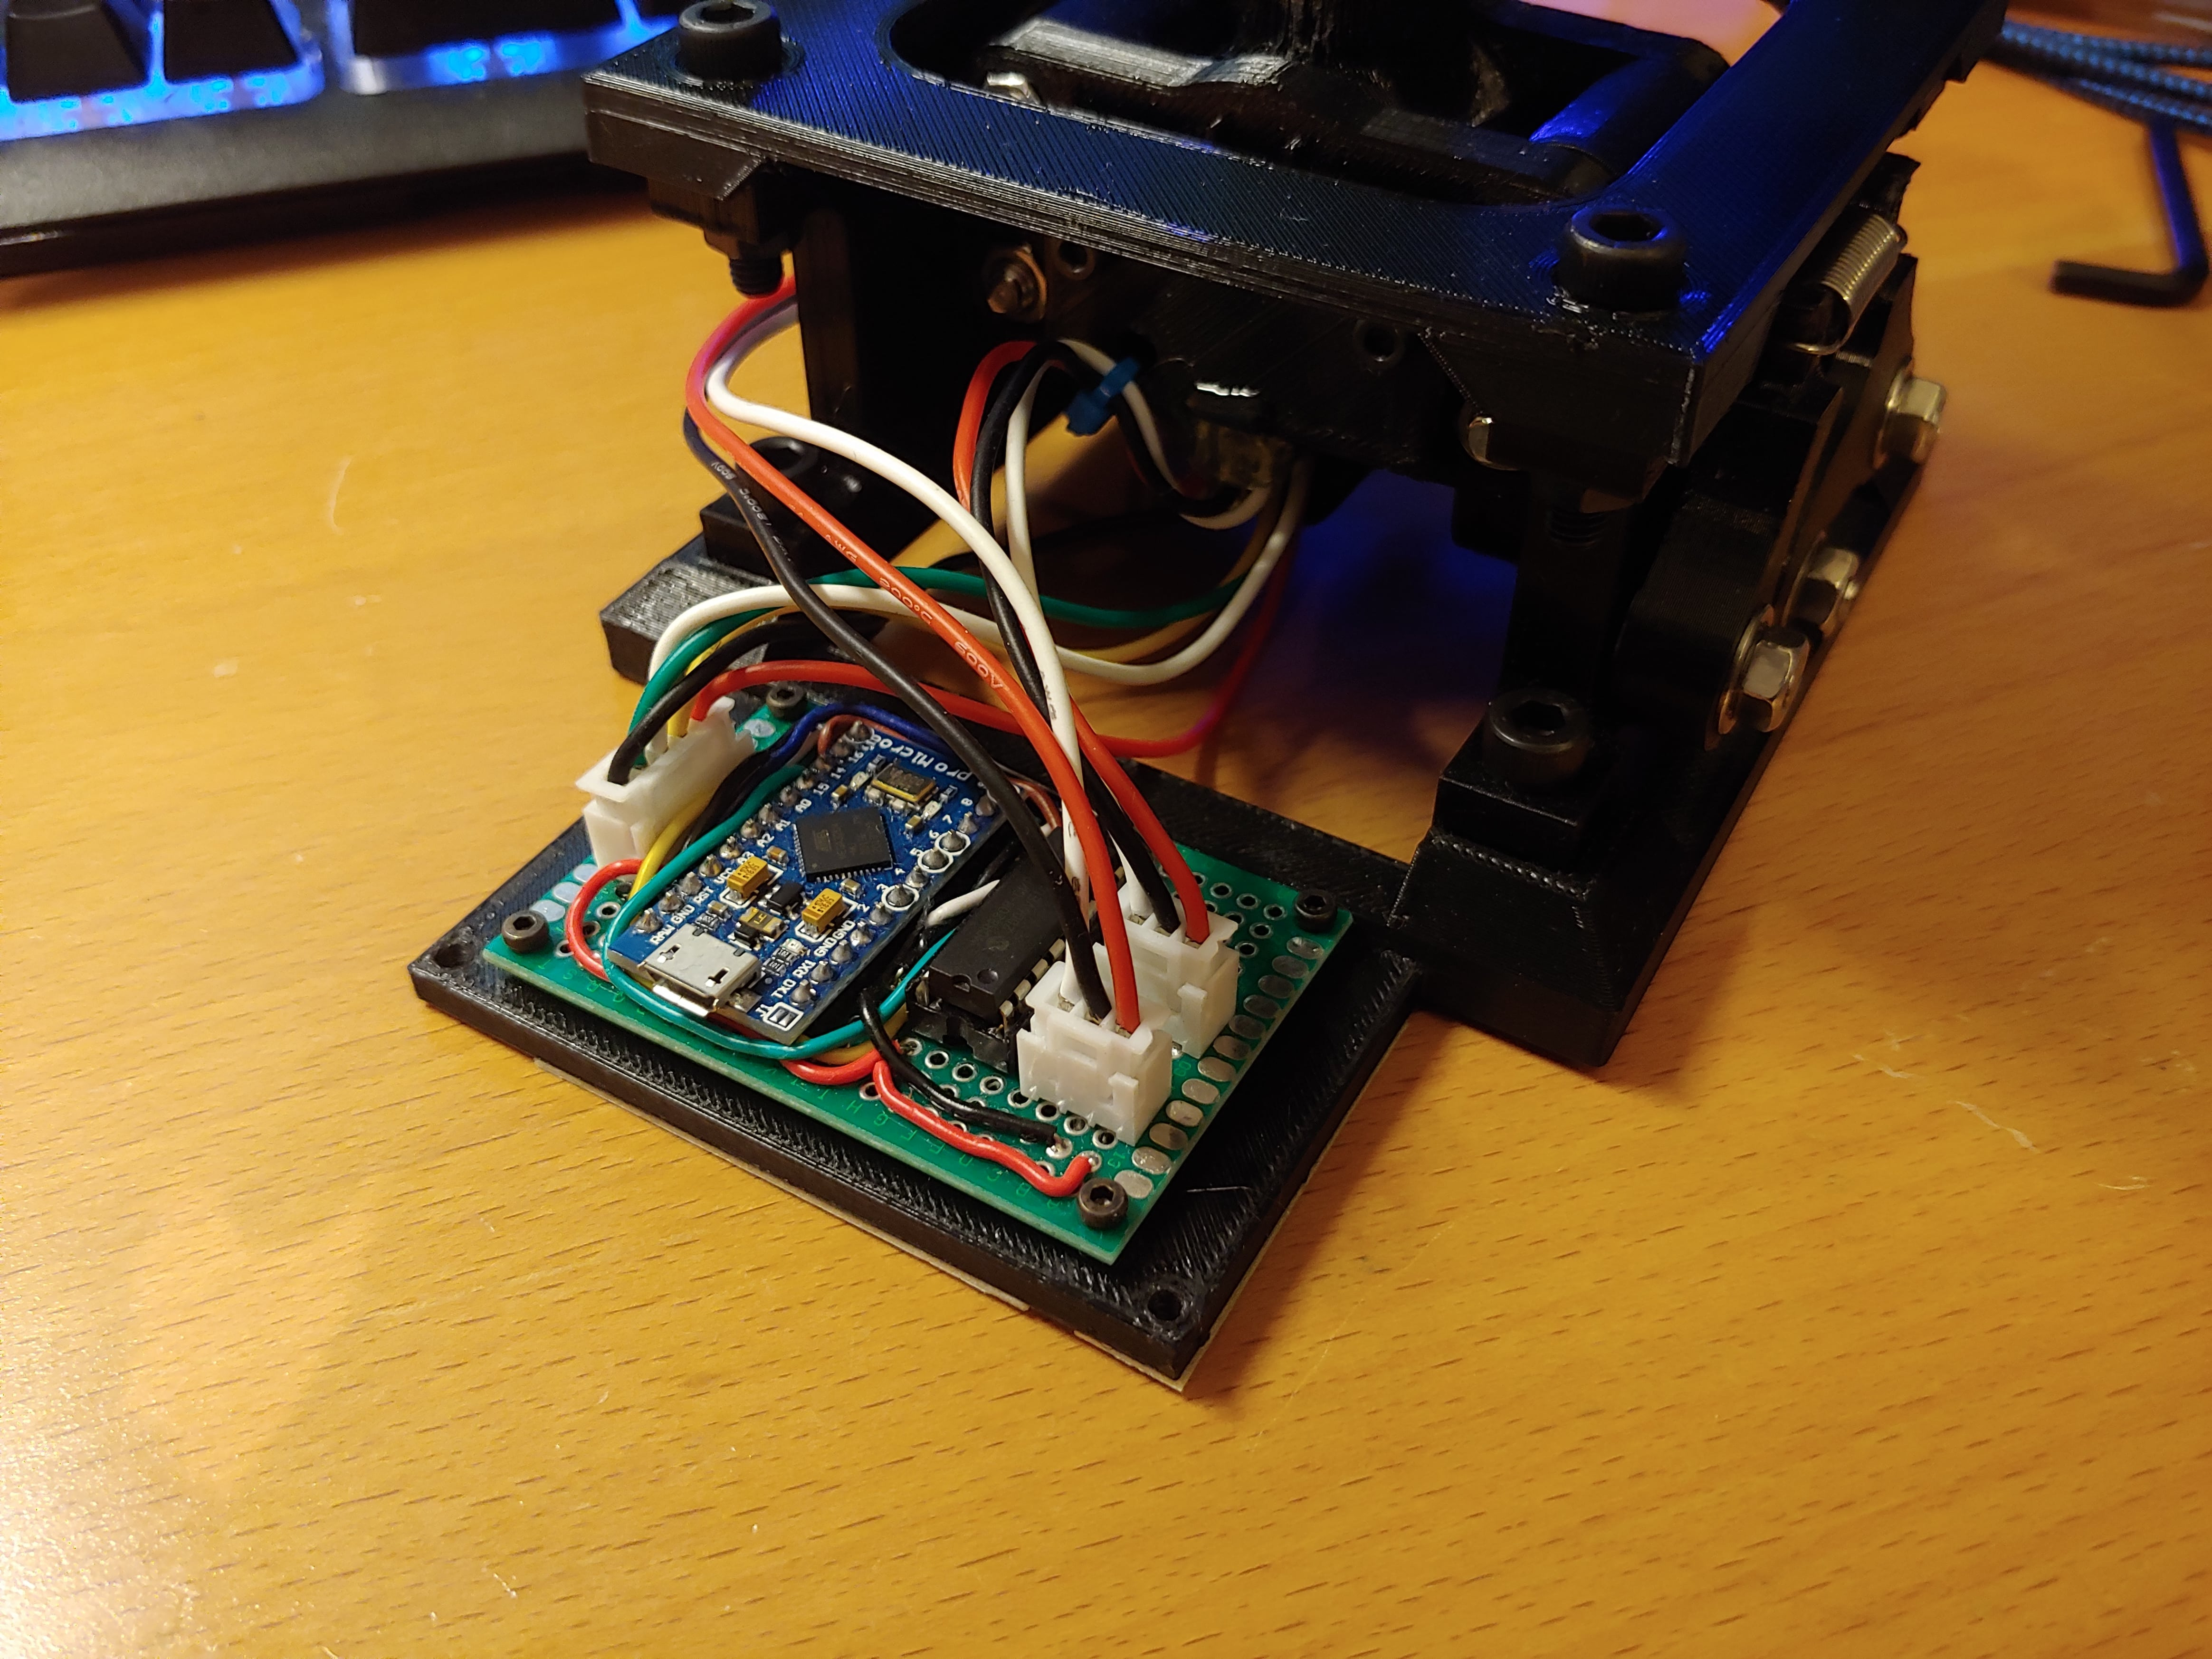
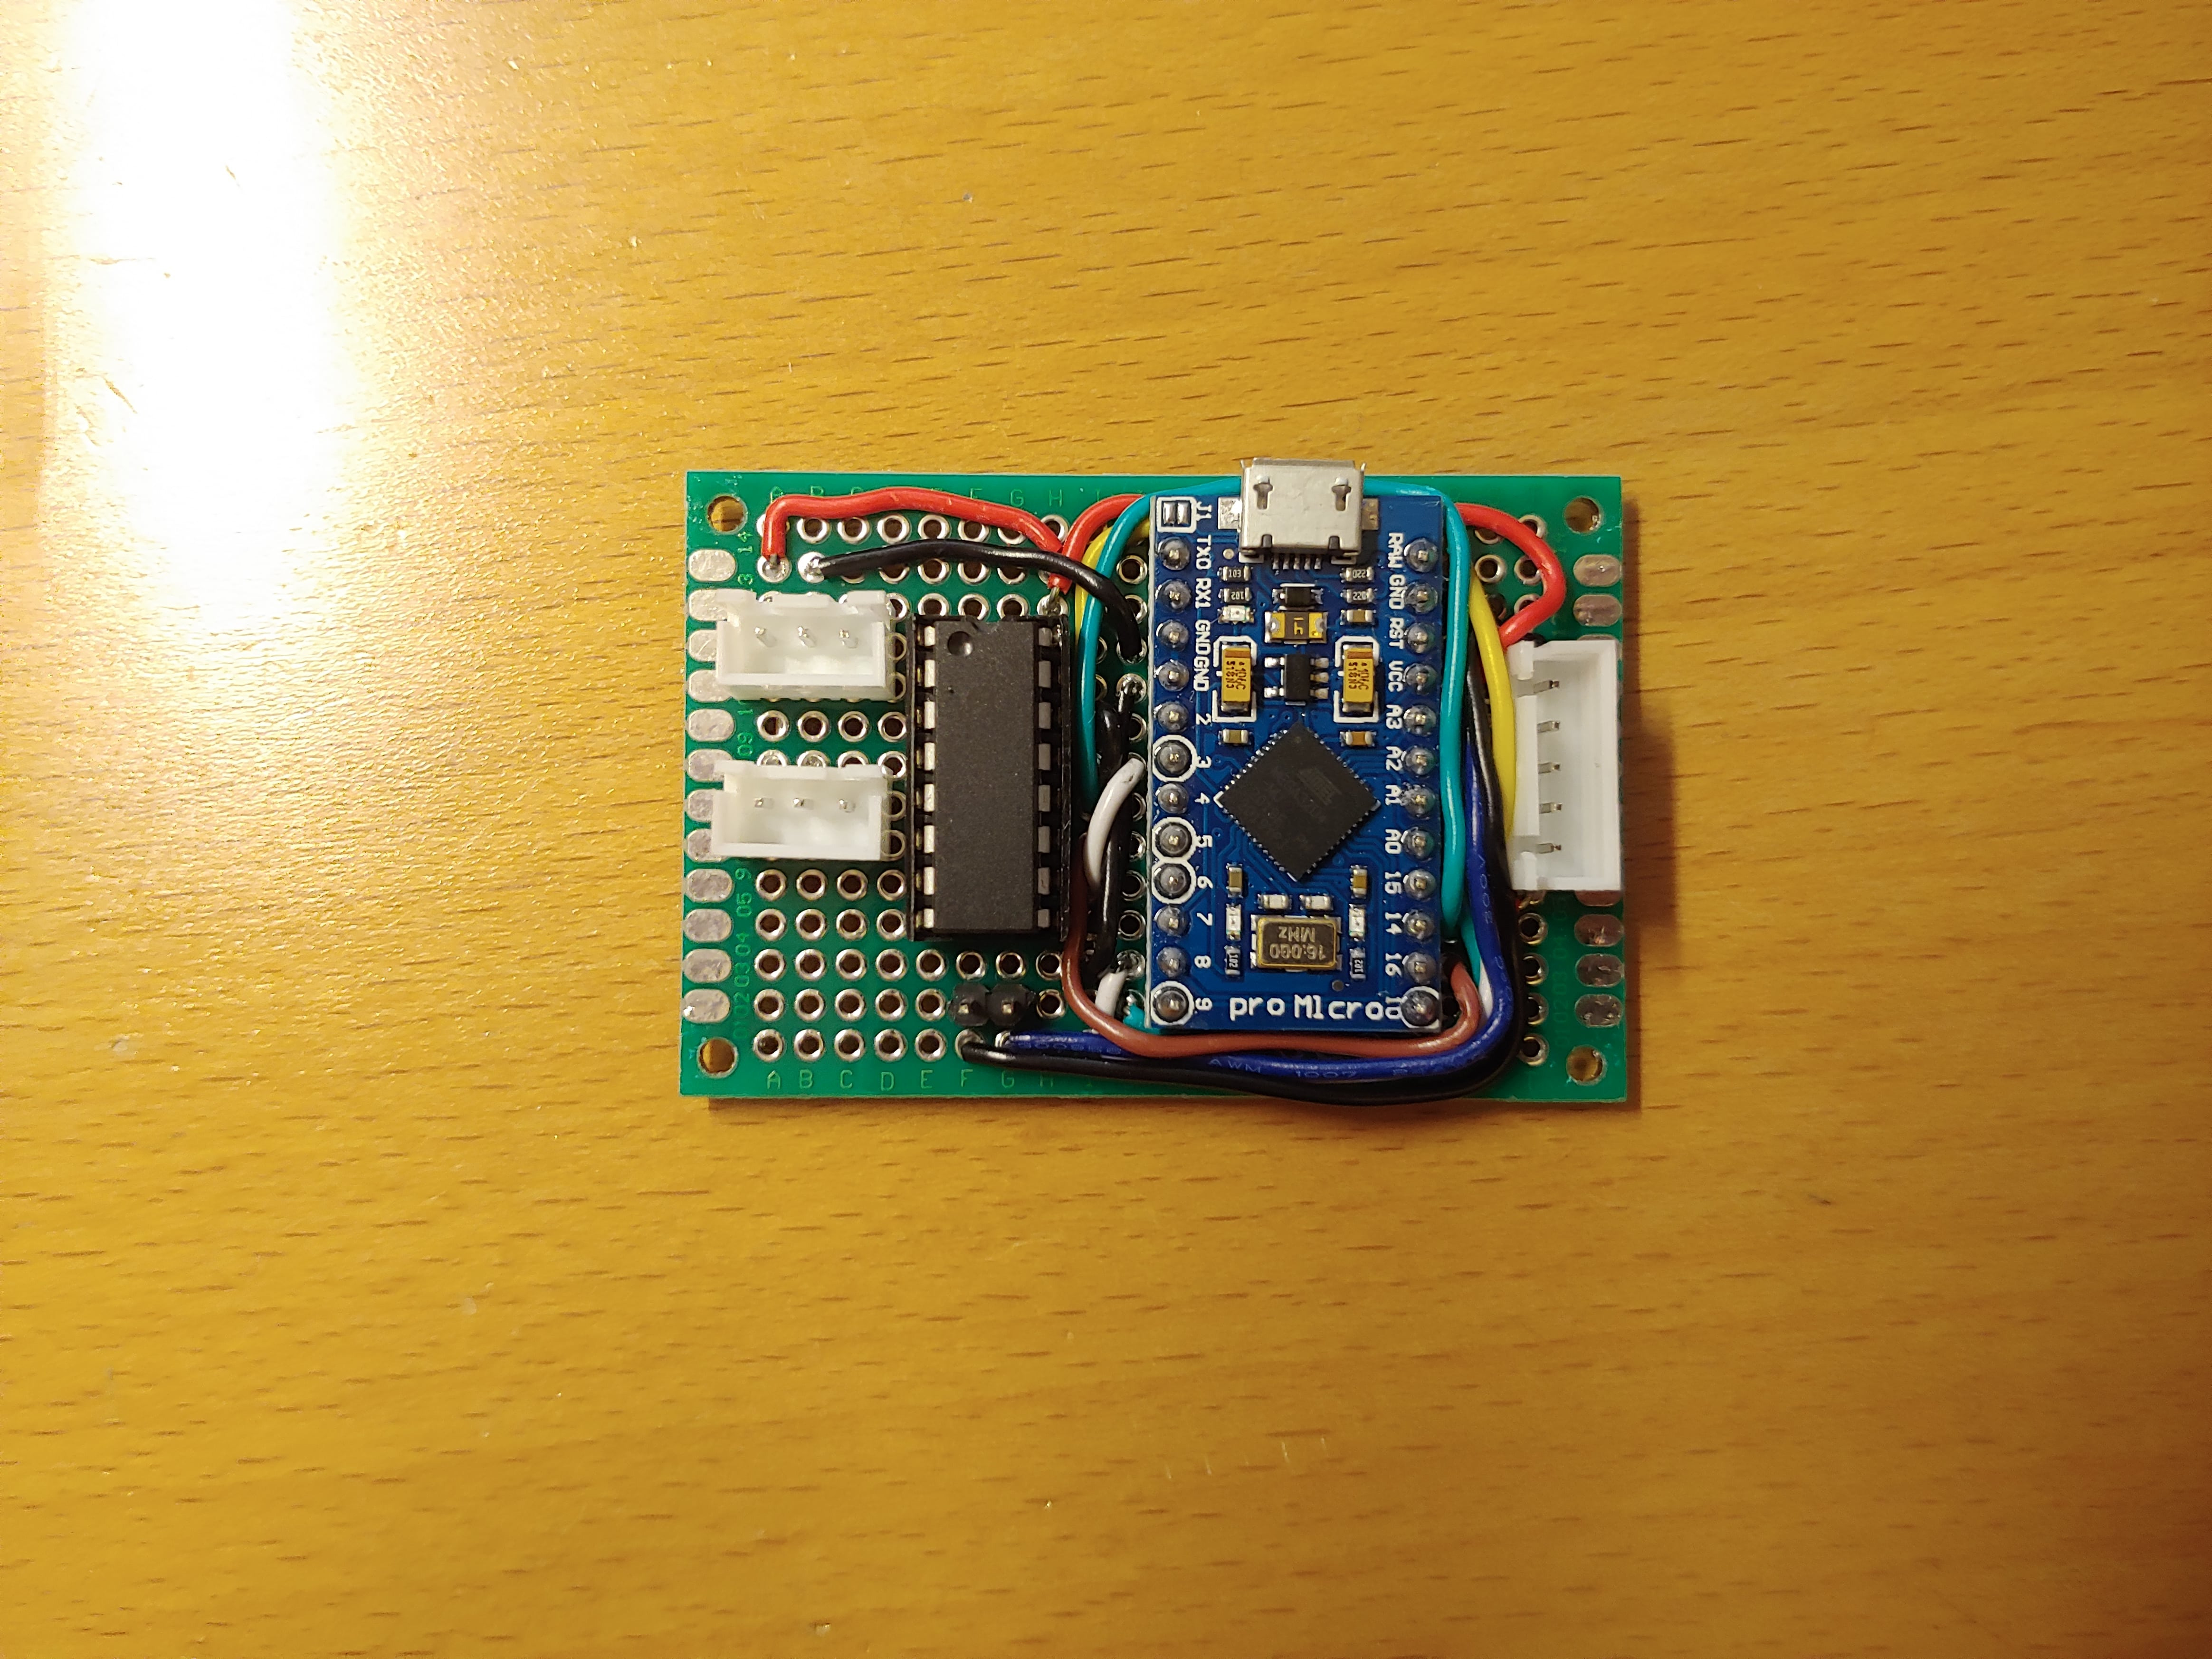
For the base electronics, I used an Arduino Pro Micro running MMJoy2 to act as a USB HID device, and an MCP3208 12 bit ADC to get a higher resolution reading out of the KMA210 sensors. I put these on perfboard and used JST-XH connectors for the sensors and grip.
Final assembly
The final product
