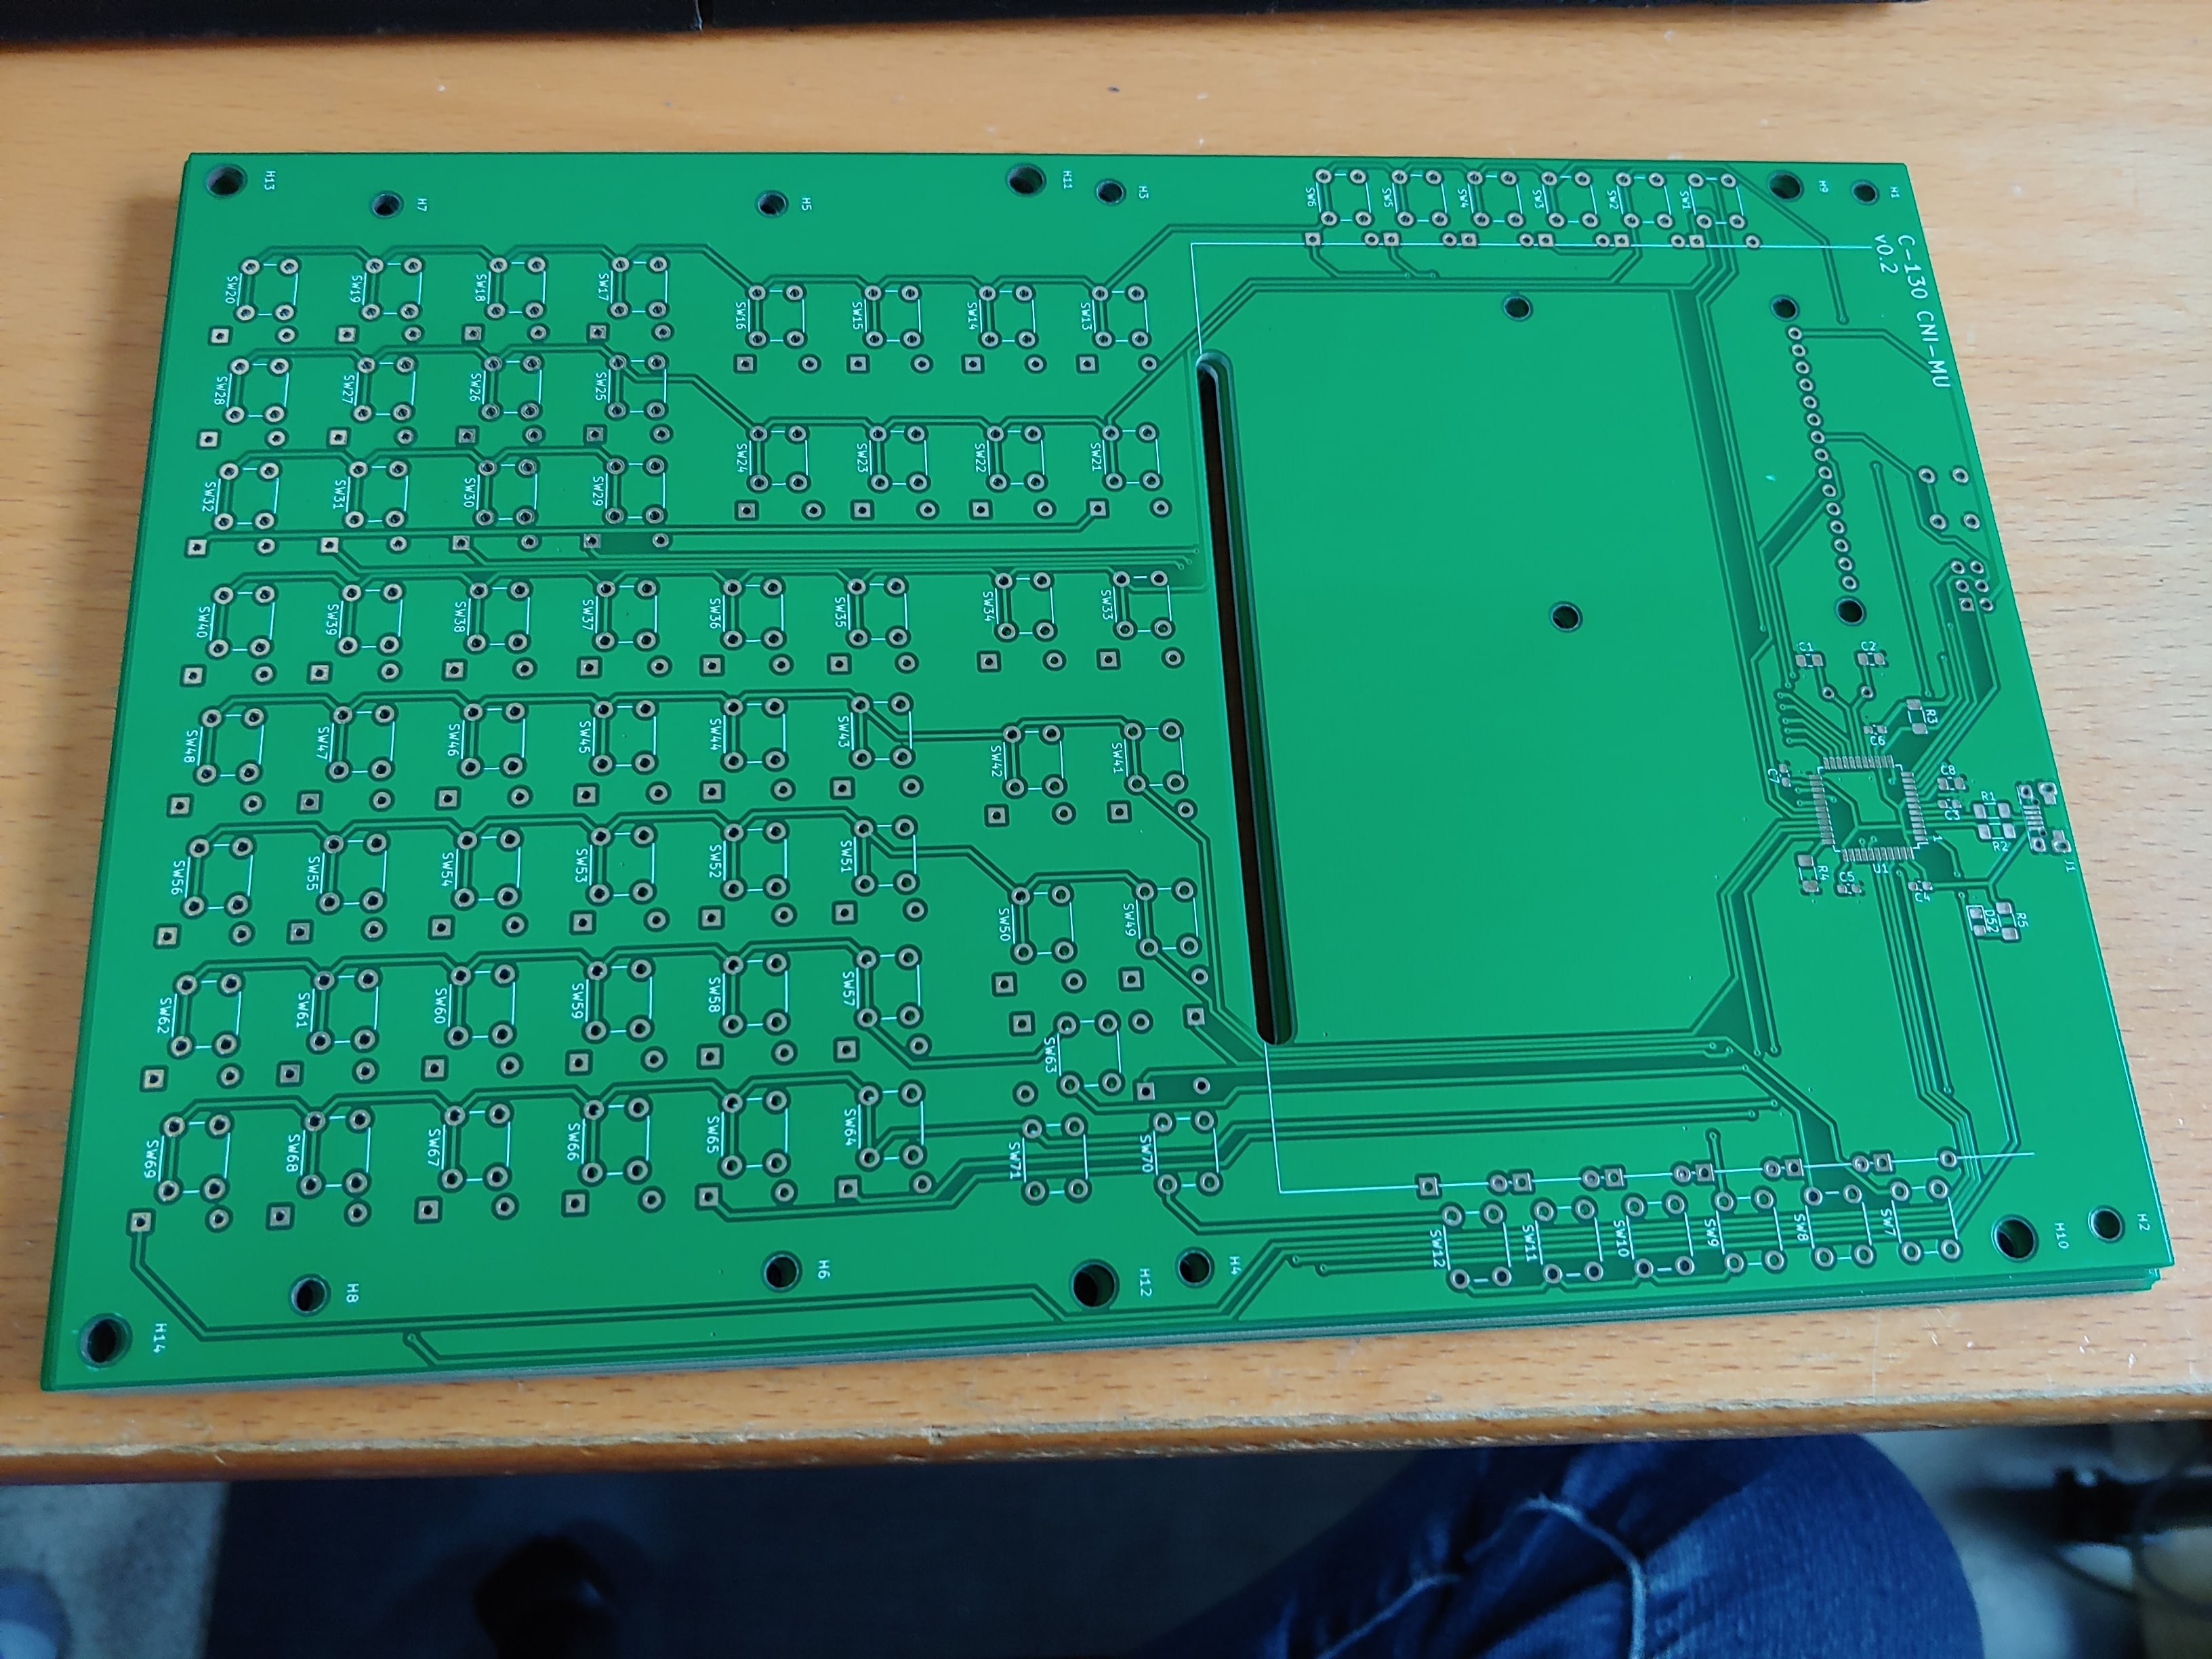
Around October ‘21, the owner of the server I had played DCS in last year, who goes by Matt, commissioned me to design a C-130 CNI-MU for him since he was in the middle of developing a C-130 module for DCS. The CNI-MU is basically a flight management computer, allowing the pilot to enter waypoints, configure systems, etc. It’s a display and a keypad with several function and alphabetical keys. I got to work CADing it up, and desiging a PCB with a keyboard matrix and TFT display with a spot for a driver breakout board.
The first prototype had the microcontroller directly embedded because I had done it previously on my keyboard project and I needed all 23 inputs for the keyboard matrixing and TFT driver interface.
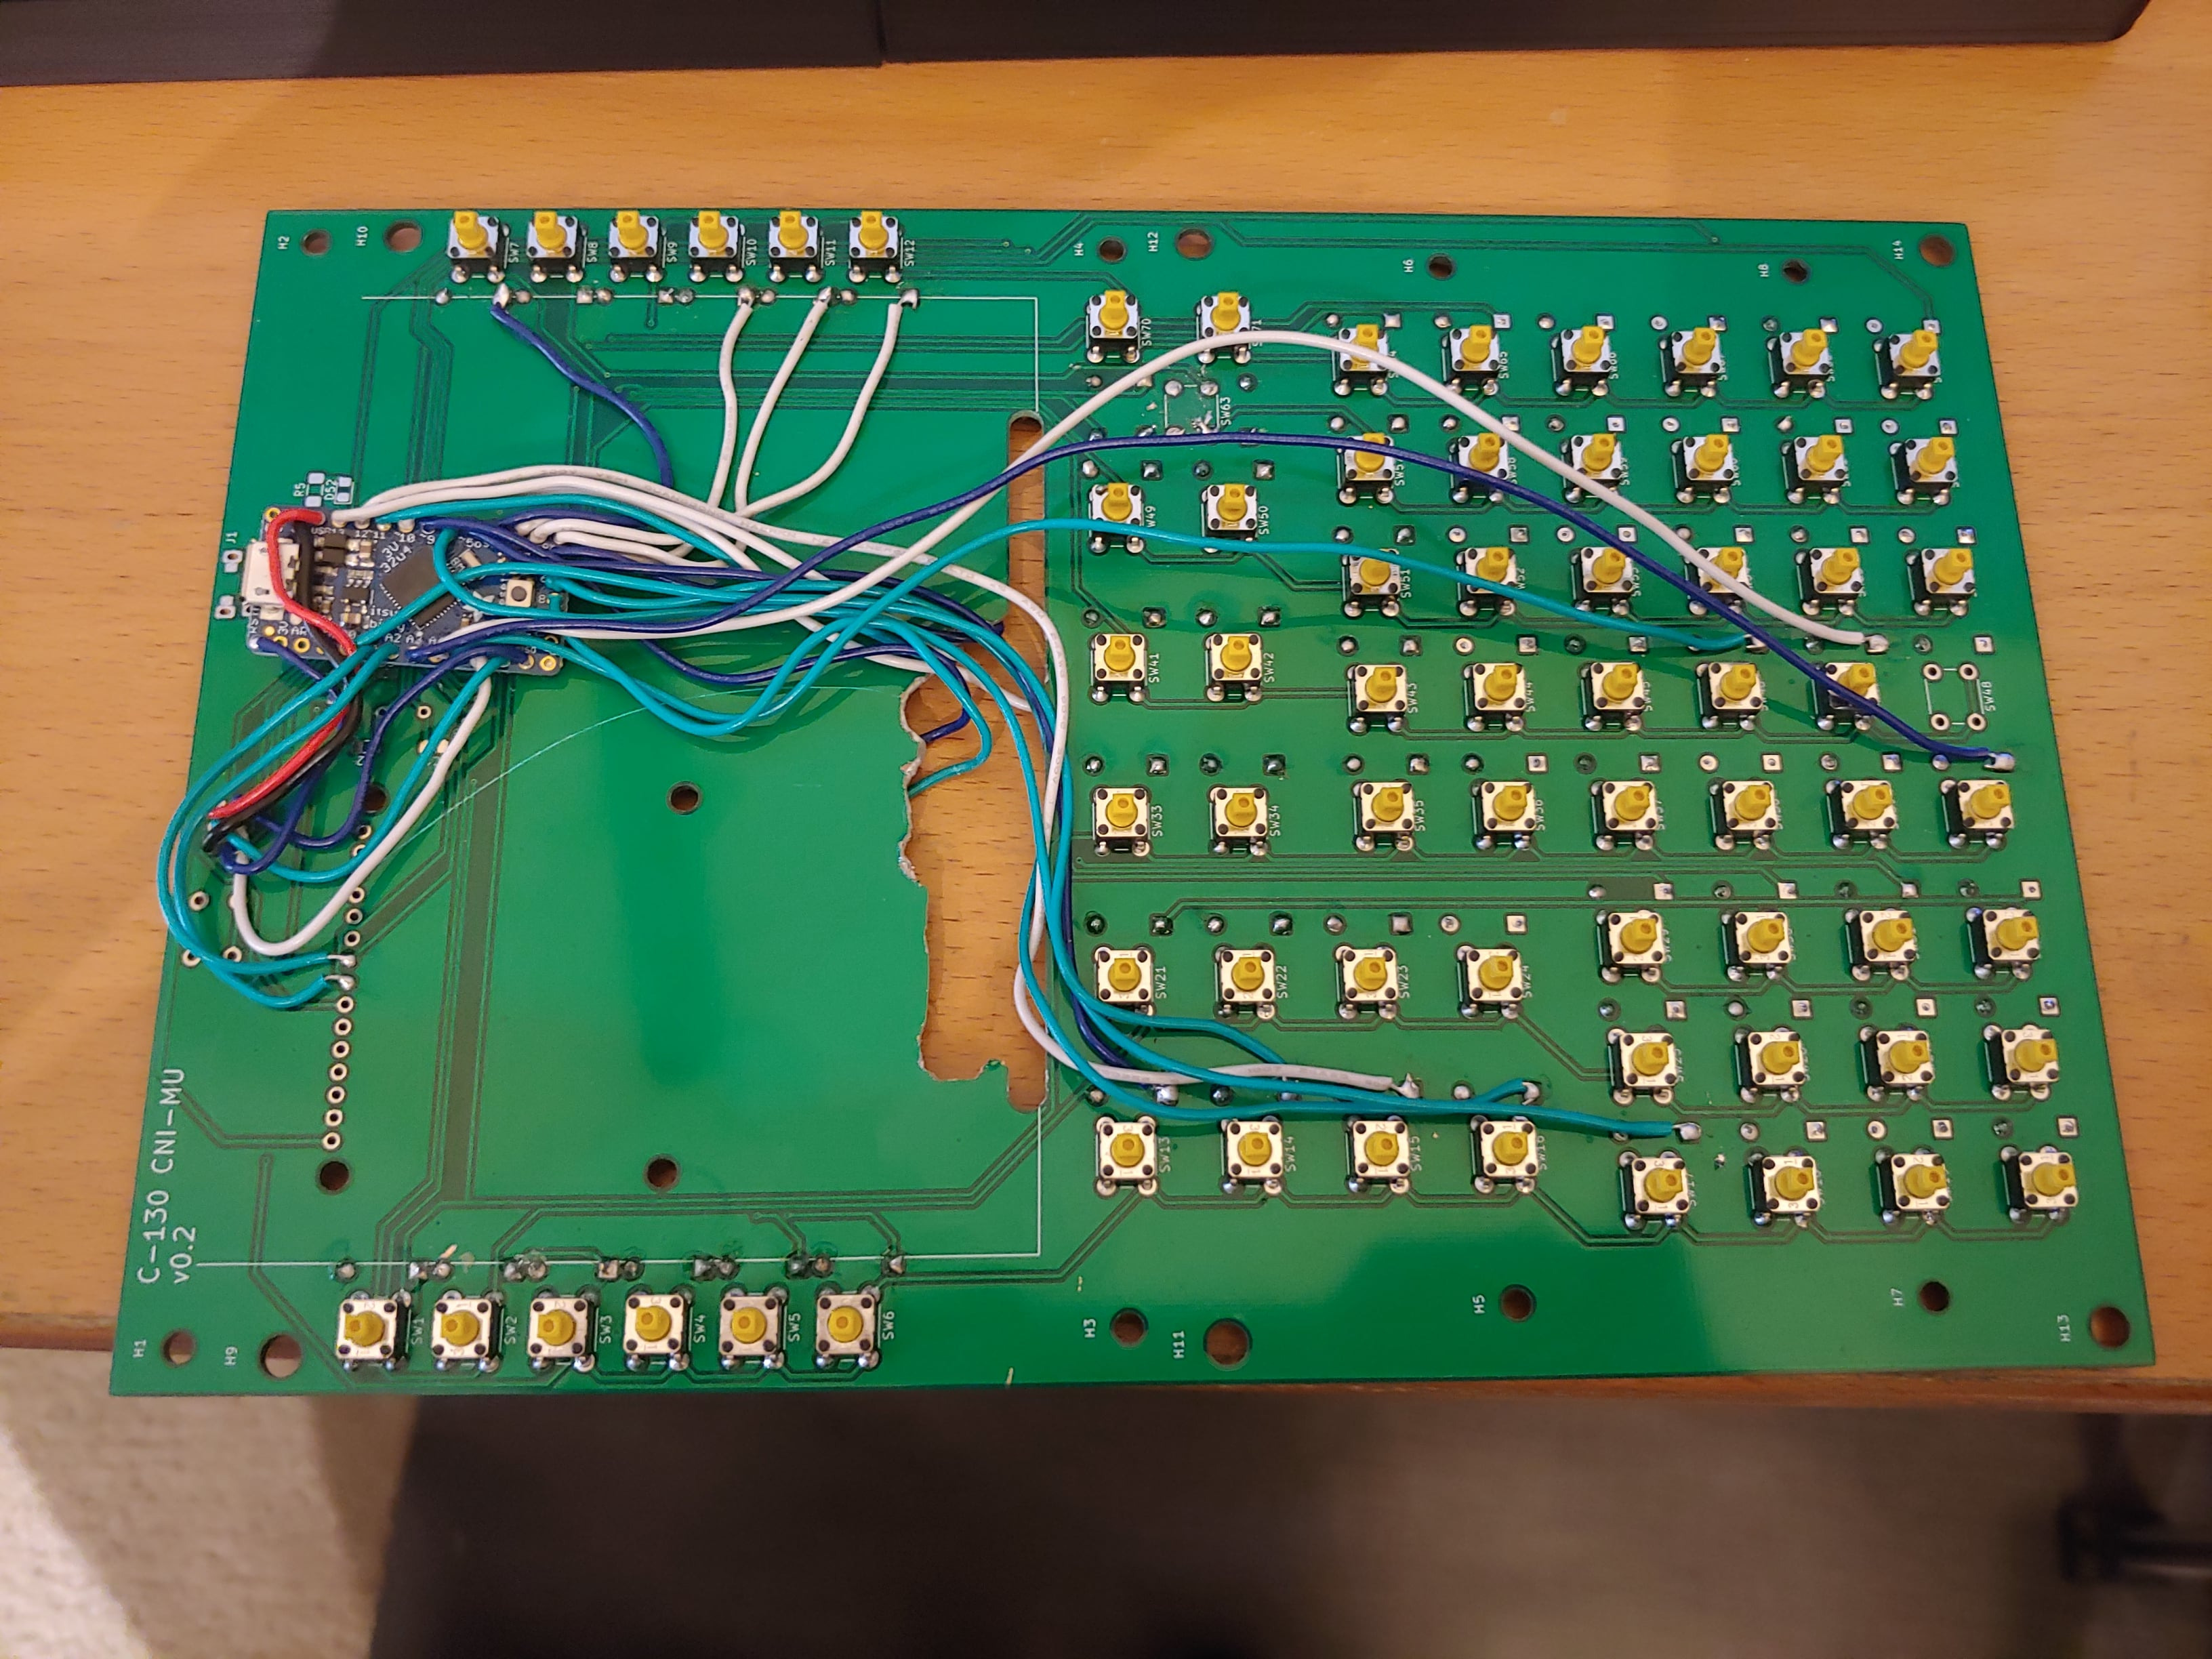
But for some reason the implementation of the microcontroller didn’t work both times I tried assembling it. So I instead got a couple Adafruit itsybitsy 32u4s, which have more IO exposed than Arduino Pro Micros (but not quite as many as I could get by directly embedding). To test my button matrix before committing to a PCB change, I had to do some very jank wiring
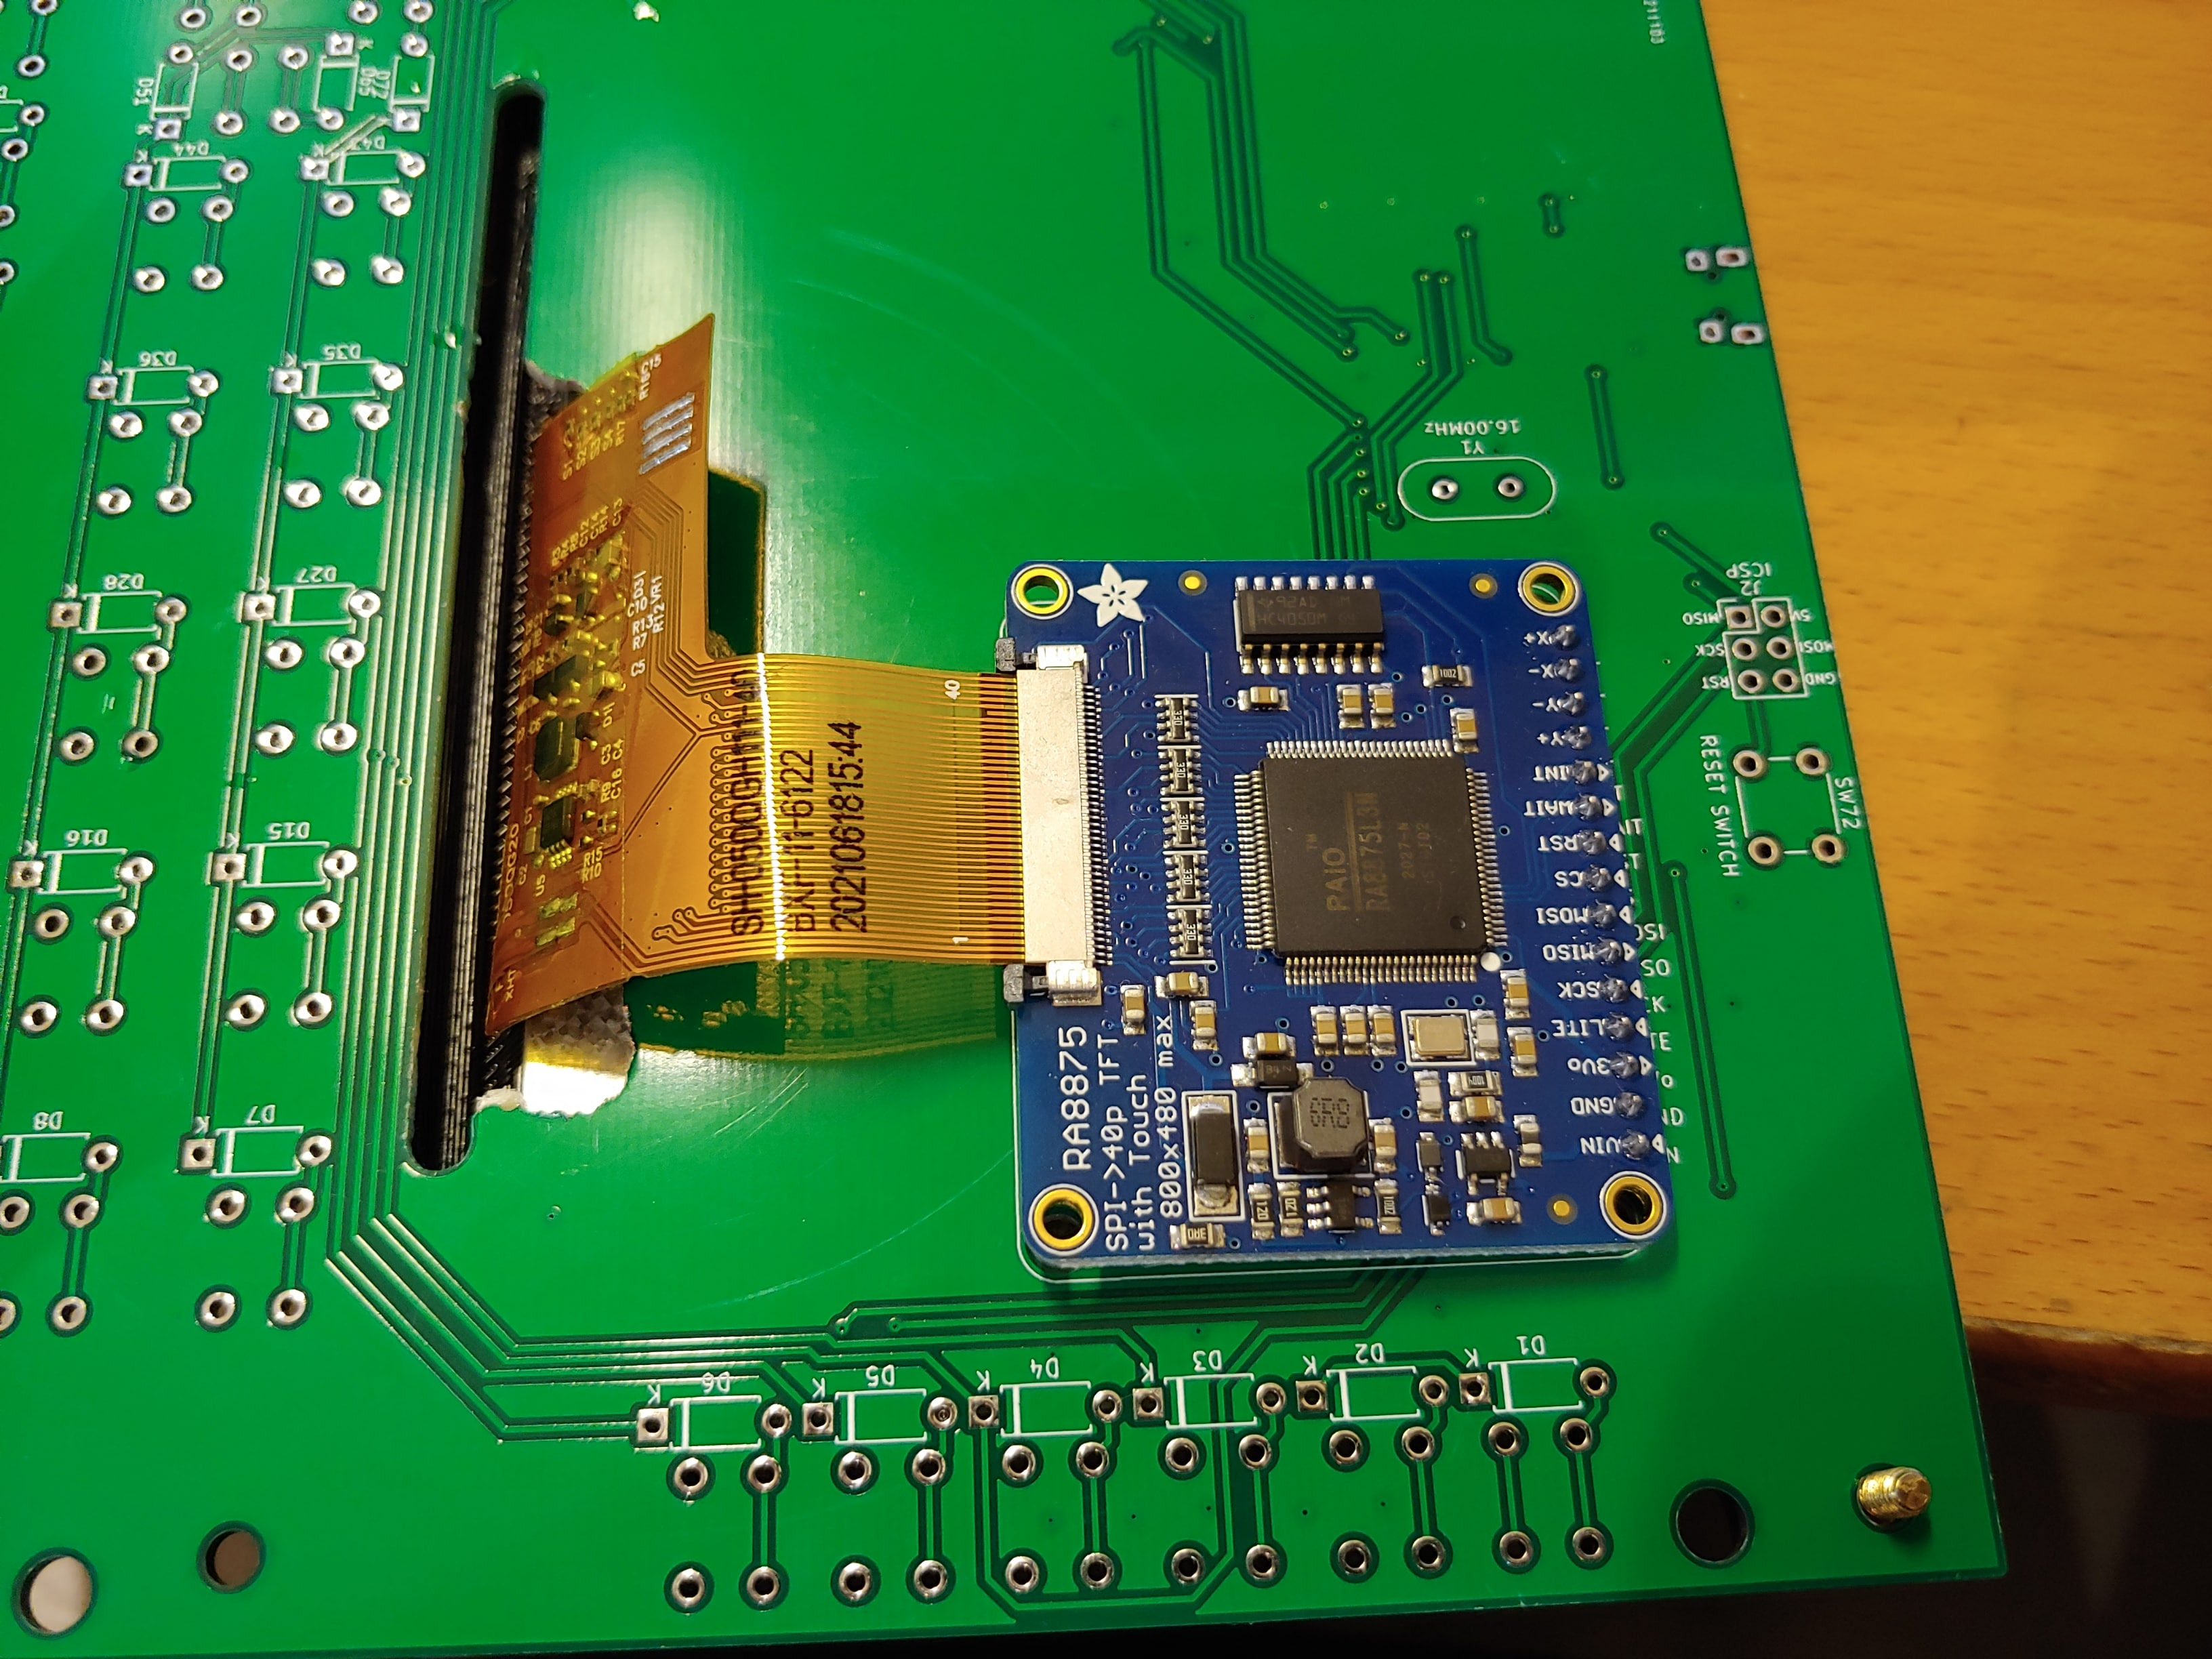
I also had to cut a wider slot with a hacksaw for the TFT display ribbon cable to pass through and plug into the driver breakout board underneath the main PCB
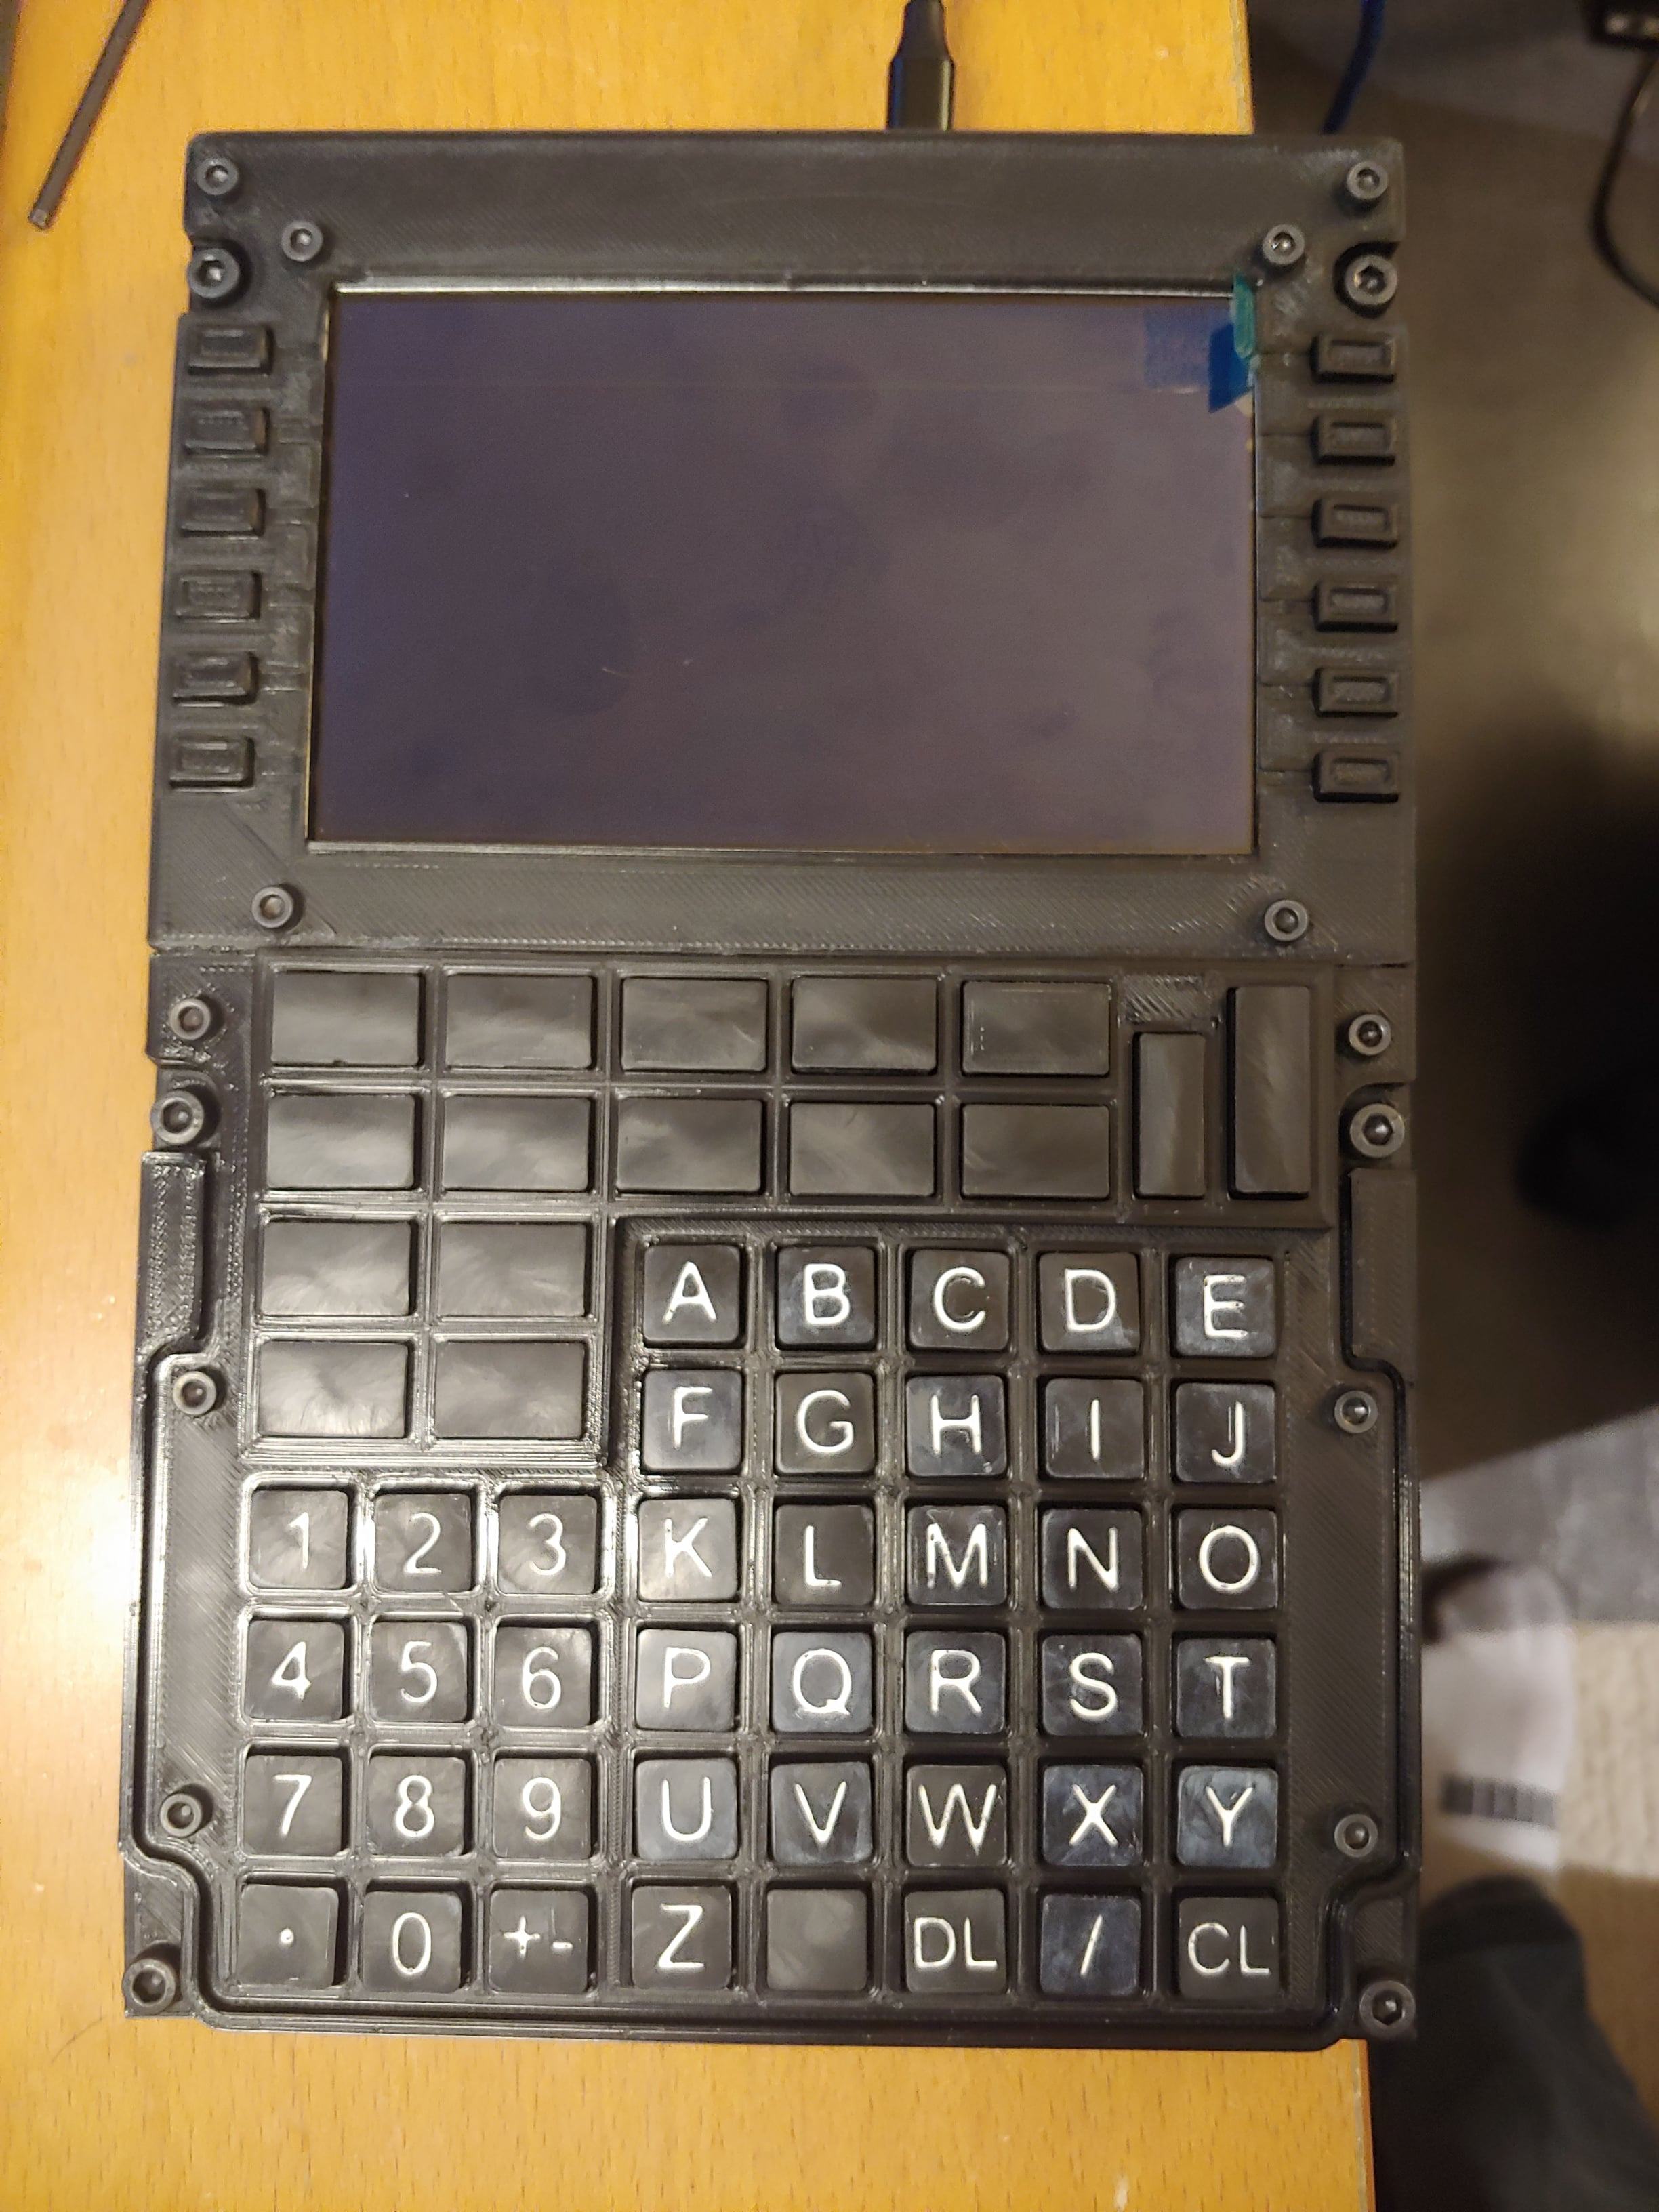
I 3D printed the case, which mounted with M4 and M3 screws and standoffs, and was fairly low profile, sandwiching the PCB on both sides. I was using Omron B3F tact switches, and I 3D printed keycaps to go over them. It took a couple tries to get the sliding tolerance right.
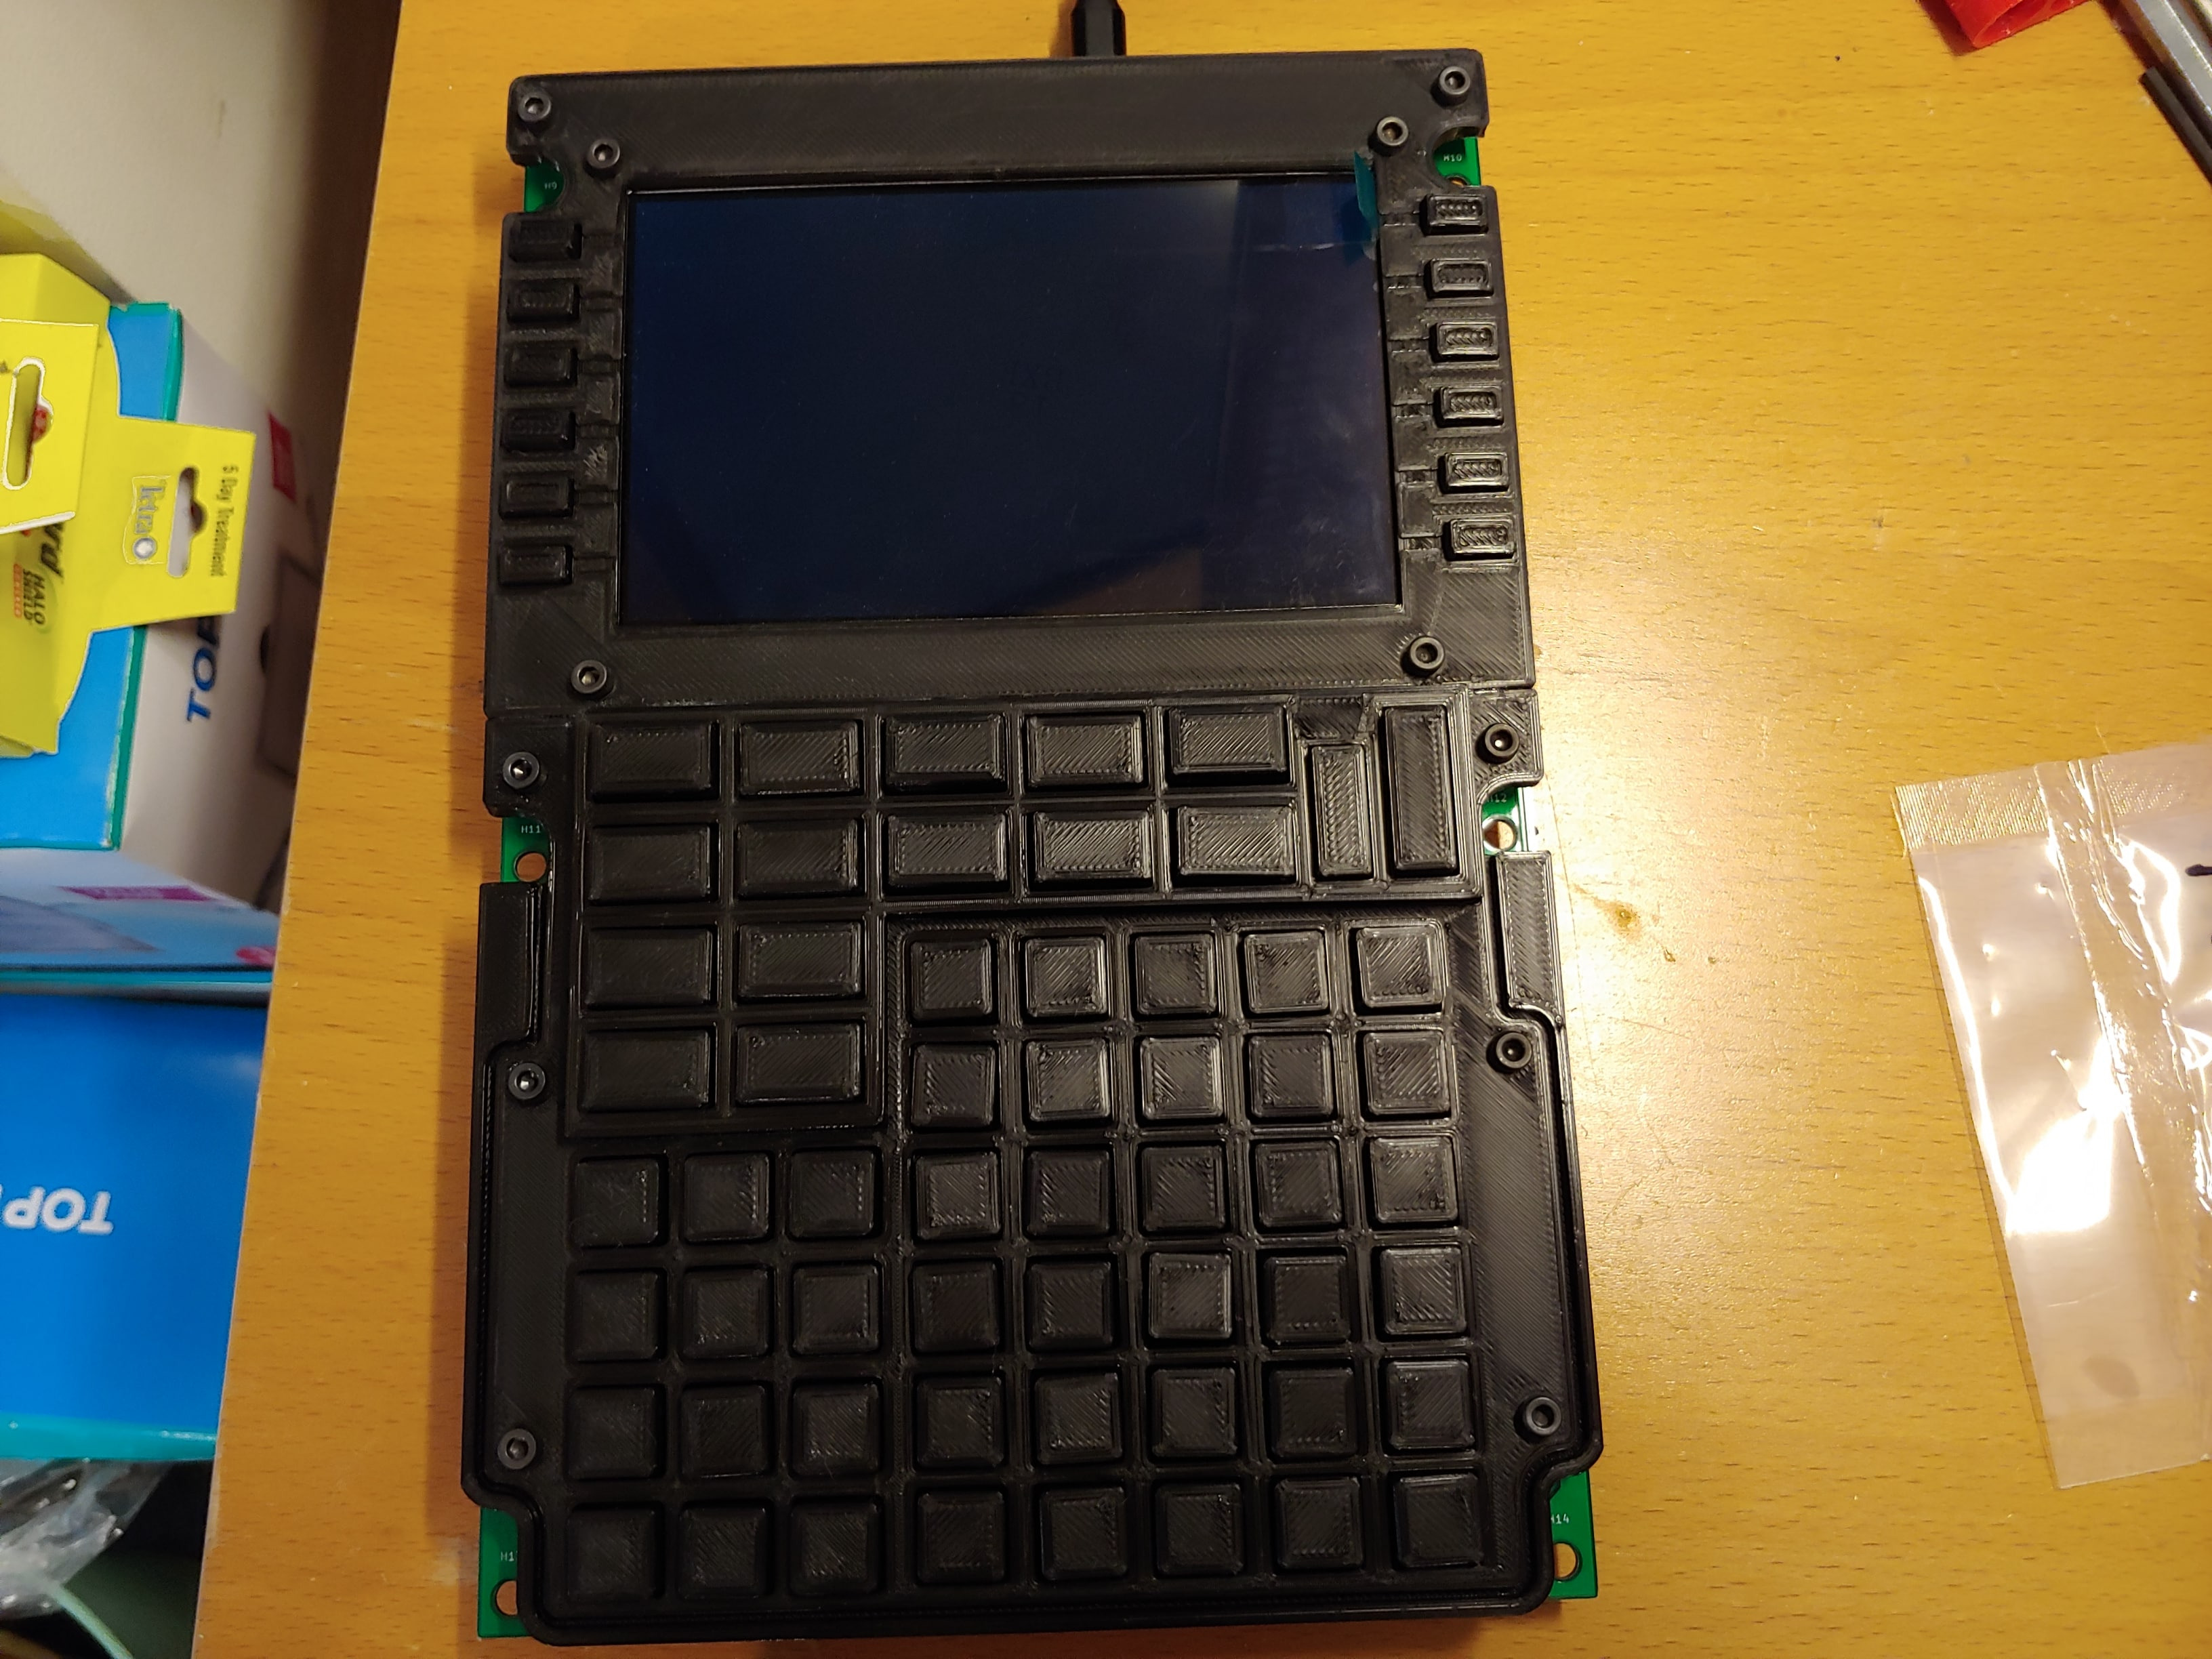
Matt asked me to put lettering on the keys, so I spent most of winter break sanding smooth and injecting white paint into 3D printed keycaps with lettering. In hindsight I really should’ve just gotten laser engraved caps from a shop like SendCutSend, but I didn’t want to add more to the budget.
 I wrote up some Arduino code to read the keyboard matrix and act as a HID device, and left the display handling to Matt, knew more about how the CNI-MU works. I made sure to let him know how to interface with the display in Arduino.